.JPEG "Grassy grove Peaceful Cabin") |
| My little cabin in the woods! |

First off, this card is part of Kylie Bertucci's International Blog Highlights for June and I am much appreciative of the opportunity to participate with such wonderfully talented cardmarkers.
If you like my card, I humbly ask that you would click the link below to vote more me. Don't worry, the info on how to make the card is here if you just scroll a little farther.

Stampsets Used:
Peaceful Cabin (retired from the Jul-Dec 2021)
Peaceful Cabin (retired from the Jul-Dec 2021)
Dies Used:
Grove Dies
Inspiring Canopy (retired from the Annual 21-22 catalog)
Grove Dies
Inspiring Canopy (retired from the Annual 21-22 catalog)
Paper Used:
New Horizons DSP
Evening Evergreen
Soft Sea Foam
Ink:
Evening Evergreen
Soft Suede
- Cut the variegated green 6x6 inch DSP into two pieces. (You will only use one.)

Use the Grove Dies to cut the tree canopy. Place it as shown so that you cut just to the bottom of the trees.

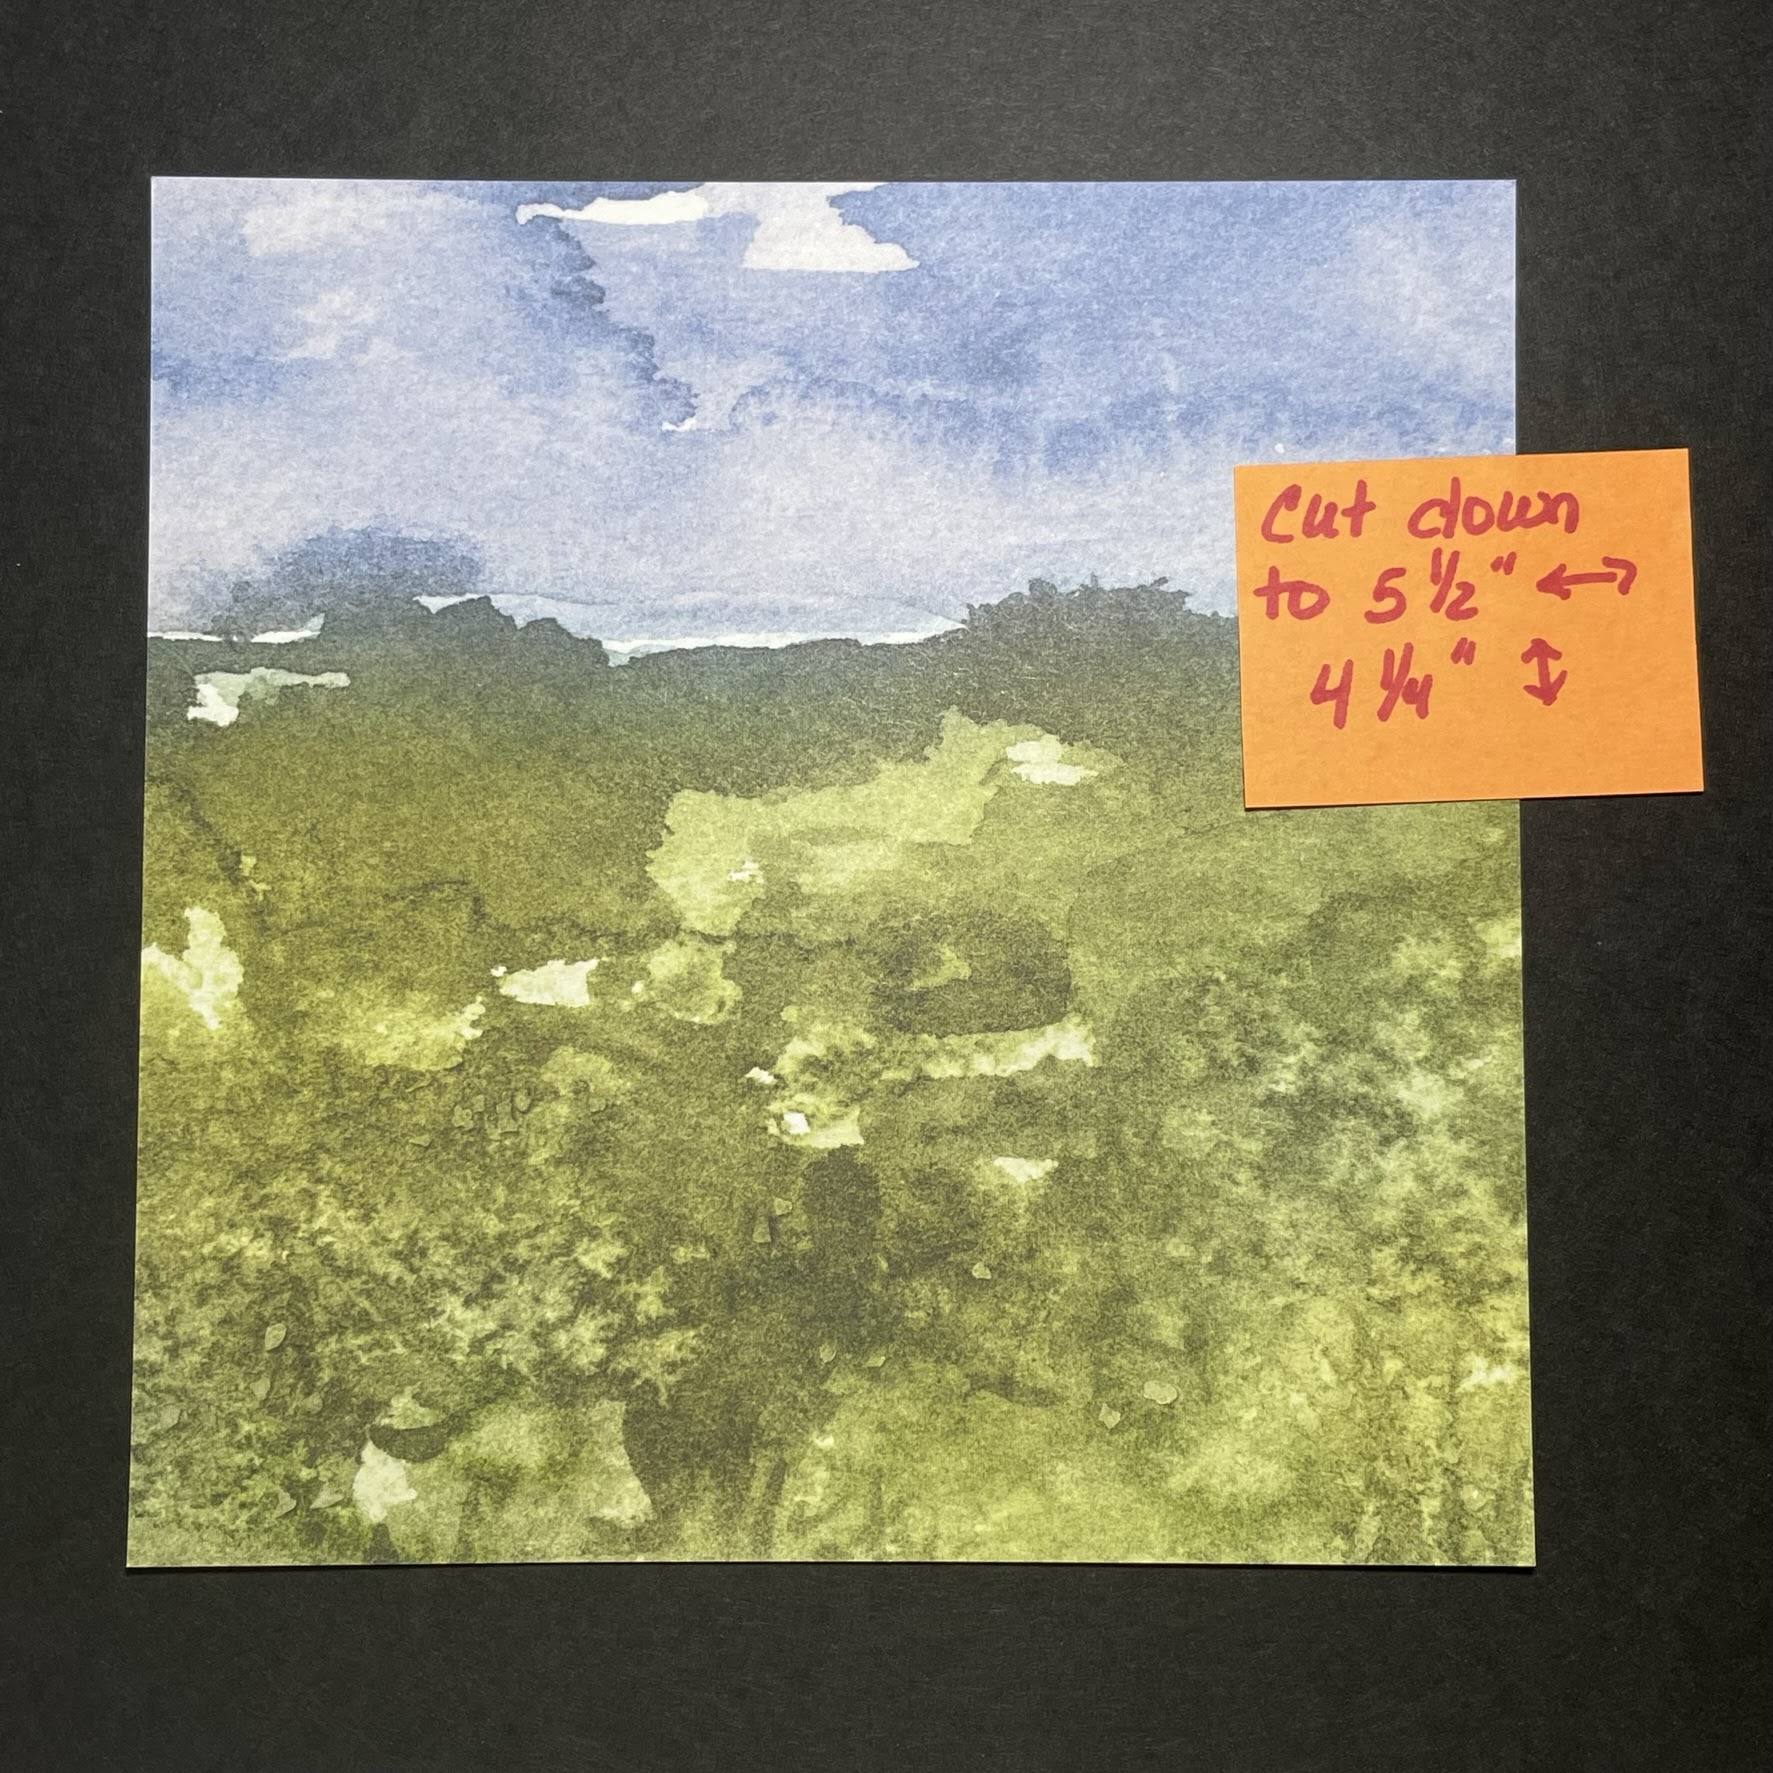
- Cut the piece to 5½" wide by shaving ¼" off of each side.

- Use whichever landscape scene from the New Horizons DSP you wish to use in the background. This one works well with my cabin scene. Cut it to 5½" x 4".
- Darken the bark of the trees using a Stampin' Blend (as shown) or whatever you have on hand.

- Stamp the cabin from Peaceful Cabin in Soft Suede on Basic White scrap cardstock.

- Use a Stampin' Blend marker (or whatever you have on hand) to color in the roof then use a Blender Pen to spread the Soft Suede.

- Use the leaf dies from Inspiring Canopy to cut "bushes" out of scrap pieces of the variegated green DSP.

- Let's assemble!!! Adhere the tree canopy to the background DSP - only adhere on top and sides--- do not glue down the tree trunks yet!!!

- After trimming you cabin, situate it amongst the trees as desired.

- See the white around your cabin? Use Stampin' Blends to add color around the roof and porch. Don't worry about the bottom as it will be covered. Once colored, then you can adhere it.

- Now you can adhere the tree trunks, then use those bushes to cover the bottom of the cabin and the tree trunks. Cut off any bushes that overlap the background paper. Then adhere the cardfront to your Evening Evergreen cardbase.

- Now stamp your sentiment in Evening Evergreen on Soft Sea Foam cardstock and add to the lower portion of the card. Add some Rustic Metallic dots.
.JPEG "Grassy Grove Peaceful Cabin")
That's it!! Looks hard but it is really simple. Just let the paper and dies do all the work.
As demonstrators, we come across a lot of stampsets and dies and quite honestly, we just can't keep them all. So when they retire, they get sold. But the Peaceful Cabin has a special place in my heart. We moved into our "peaceful cabin" almost a year ago and absolutely love it!

I hope that you found your peaceful place too!




.JPEG "Daffodil Daydreams")