Hello Harvest


Welcome to Manic Monday 5 Minute Card Class!

Today's card features the Hello Harvest stampset and the Rustic Harvest designer series paper.

Here are the paper dimensions if you would like to prepare and follow along:

Cardstock:

Cajun Craze - cut to 5½" x 8½", scored at 4¼" 

Mossy Meadow - cut to 1¼" x 3"

Basic White - scrap piece for sentiment

DSP:

Cardfront - cut to 4" x 5¼" ( I used the pumpkins)

Mossy Meadow vine print - 1" x 3"

Cajun Craze print - ½" x 3"

White print - 1" x 3"

Ink:

Tuxedo Black Memento Ink

Crumb Cake


The video shows how easy it is to put it all together!


If you want to get your hands on this beautiful paper and stampset before it is gone, just click on my shopping link!!!  Don't wait as the Rustic Harvest paper is in short supply!  CLICK HERE TO SHOP


No More Ugly Tissue Boxes


Tired of ugly tissue boxes??? Me too!!!!!
Let's make our own!!


 I have been wanting to do this for over a year but other projects took priority.  But every time I looked at that ugly tissue box in my living room, I cringed.  The new colors and designs are horrendous.  Why can't they just do tan or blue..... nope, they have to make them purple and psychedelic! 

I was so excited to have found a template online and thought I was "in business" but it called for 12 x 12 inch paper (who has that anymore?) and when I put it together, the darn tissue box would not fit in it.  So, I did some math for you and created a template that uses letter size cardstock.  Oh, and did I mention that I did the math???? You're welcome.

Items needed:

~2 pieces of 8½" x 11" cardstock (for the sides and bottom of your box)

~Cardstock cut to 6⅞" x 6⅞" (for the lid)

~Die to cut opening in lid such as large oval from Stitched Shapes but you can use others

~Stampin' Seal+ and Tombow glue

~Scorer and Trimmer


Here are the templates:

    The dotted lines are score lines and the solid lines are cut lines.

CREATE ONE OF THESE

CREATE TWO OF THESE

The video walks you through the scoring, cutting and putting your box together.  


Now decorate any way you want!!

I am happy to answer any questions! Just e-mail me at CardZenByJen@yahoo.com.  
Want to join my Facebook group?  Just search the group "Stamping with Card Zen By Jen".

Gratitude Gum Gift


The little Corgi and the sentiment in "Glad We're Together" were just begging me to use them in a gratitude gift and the Bazooka gum was the perfect treat.

The wrap-style gift packaging is quick and easy and the measurements can be altered for other brands and sizes.

Items needed:

Glad We're Friends stampset 
Crumbcake cardstock - 8½" x  3¼" (scored at 2⅝", 3", 5½", 5⅞")
Sweet Sorbet cardstock - 7½" x 1"
Thick Basic White cardstock - scrap piece
Early Espresso ink
Tuxedo Black Memento ink
Stampin' Blends markers of your choice to color

Let's make this together.  Here is the video:


This is a great stampset for all your animal lover friends!


I hope you enjoy this treat idea and will use it to share your gratitude. 

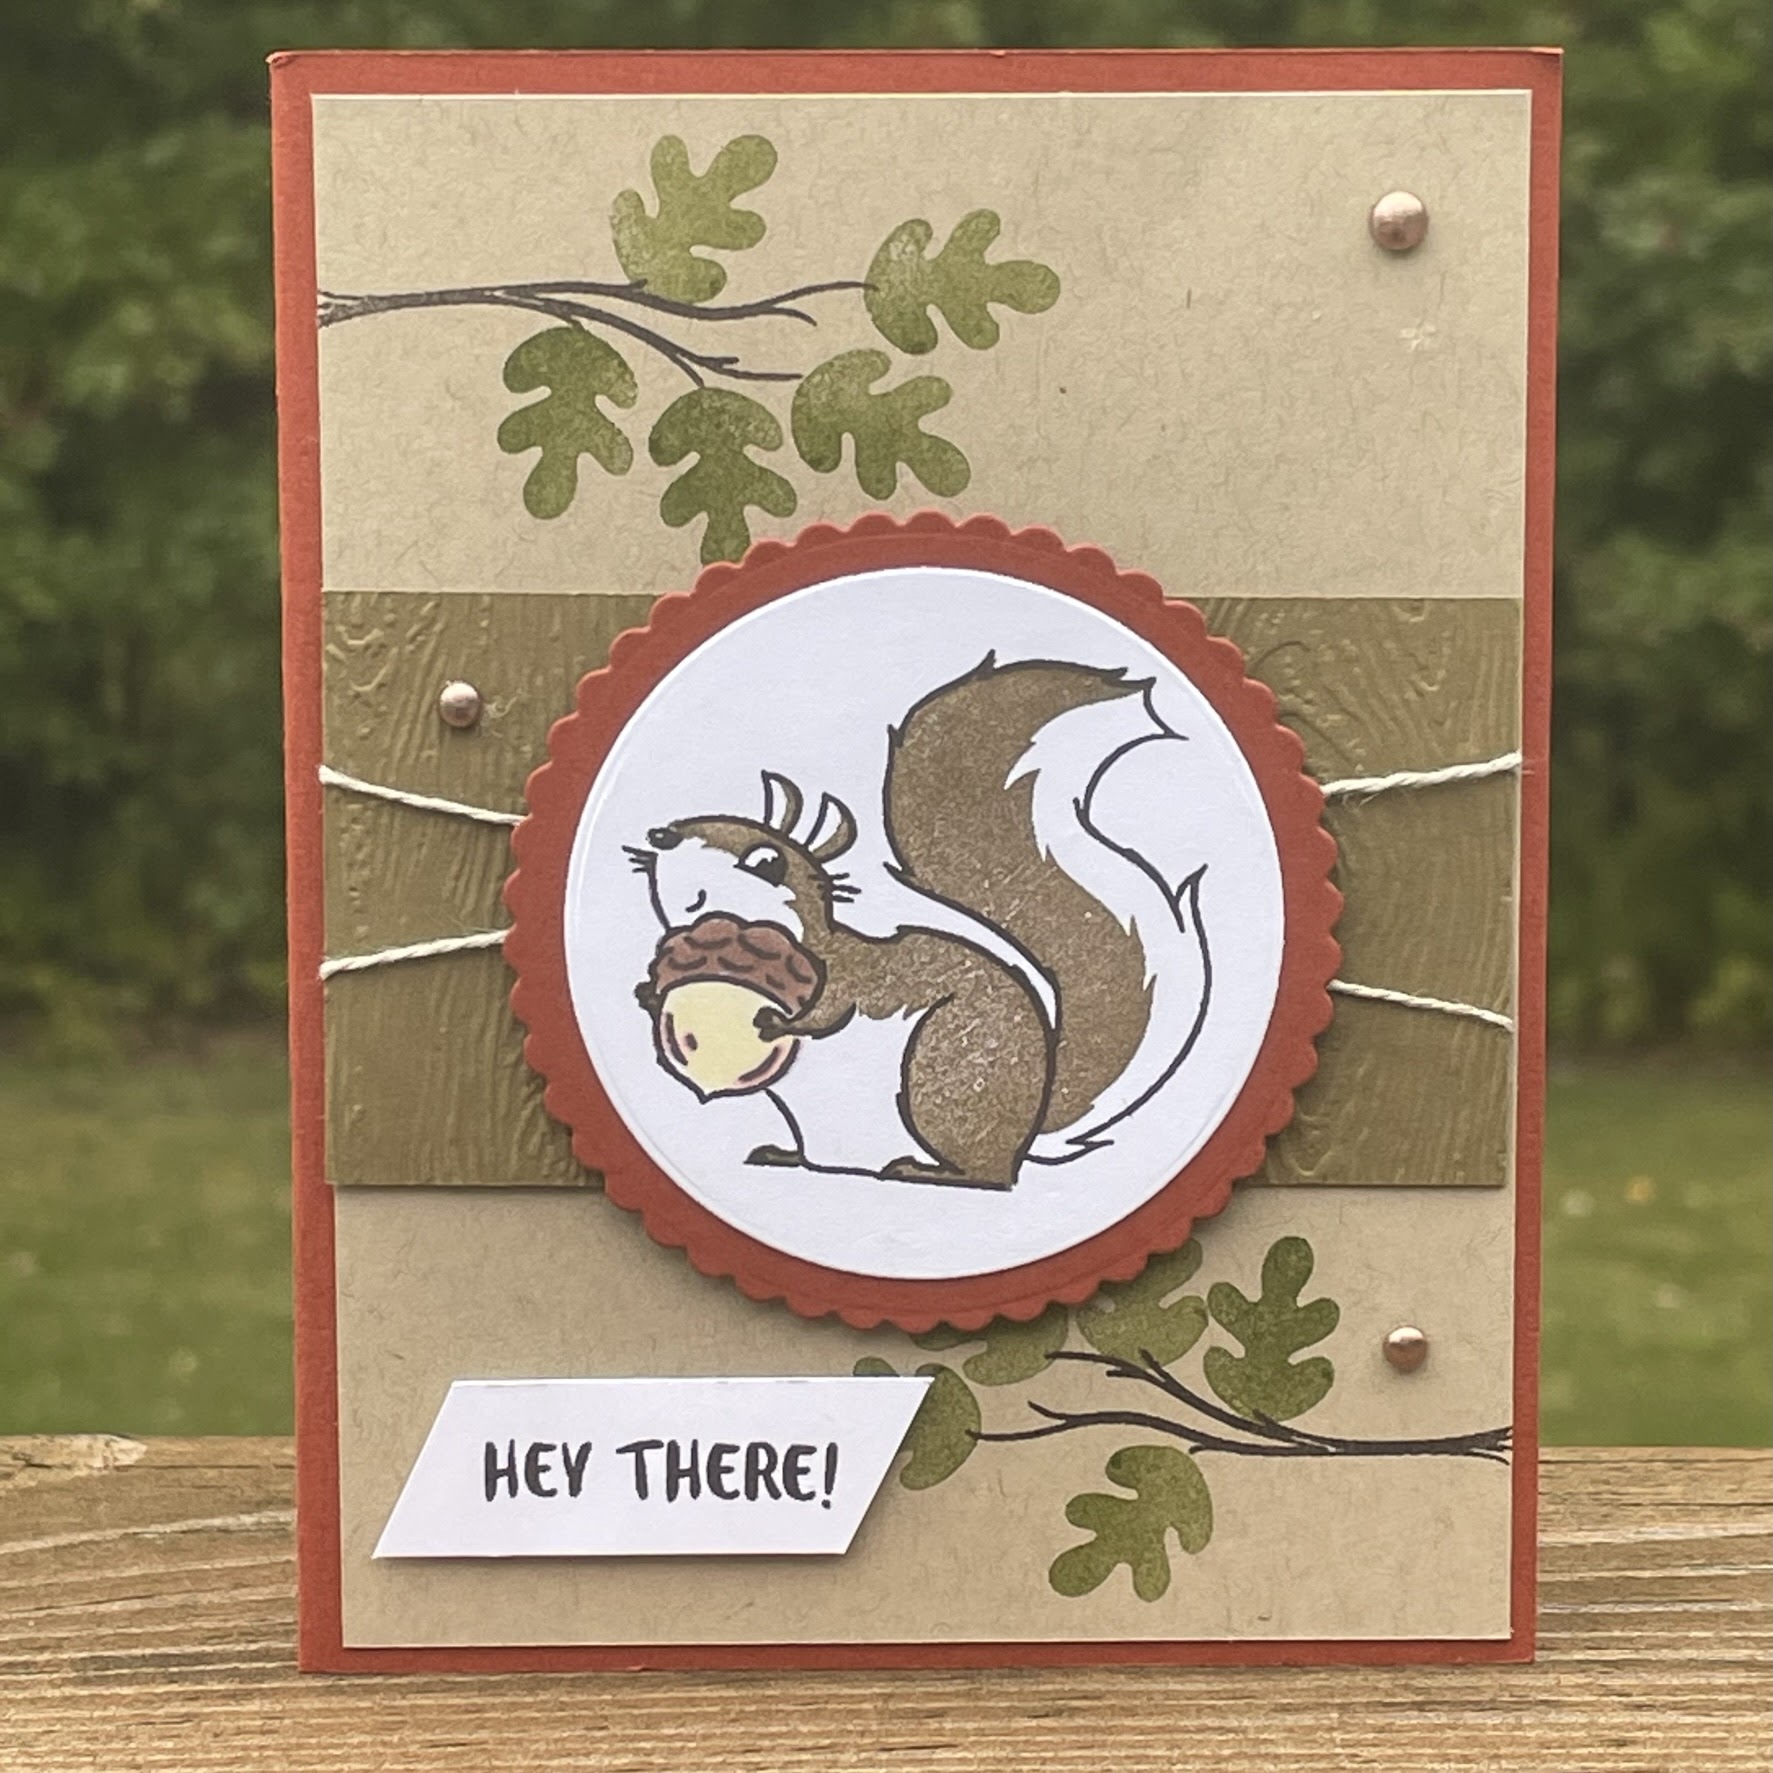
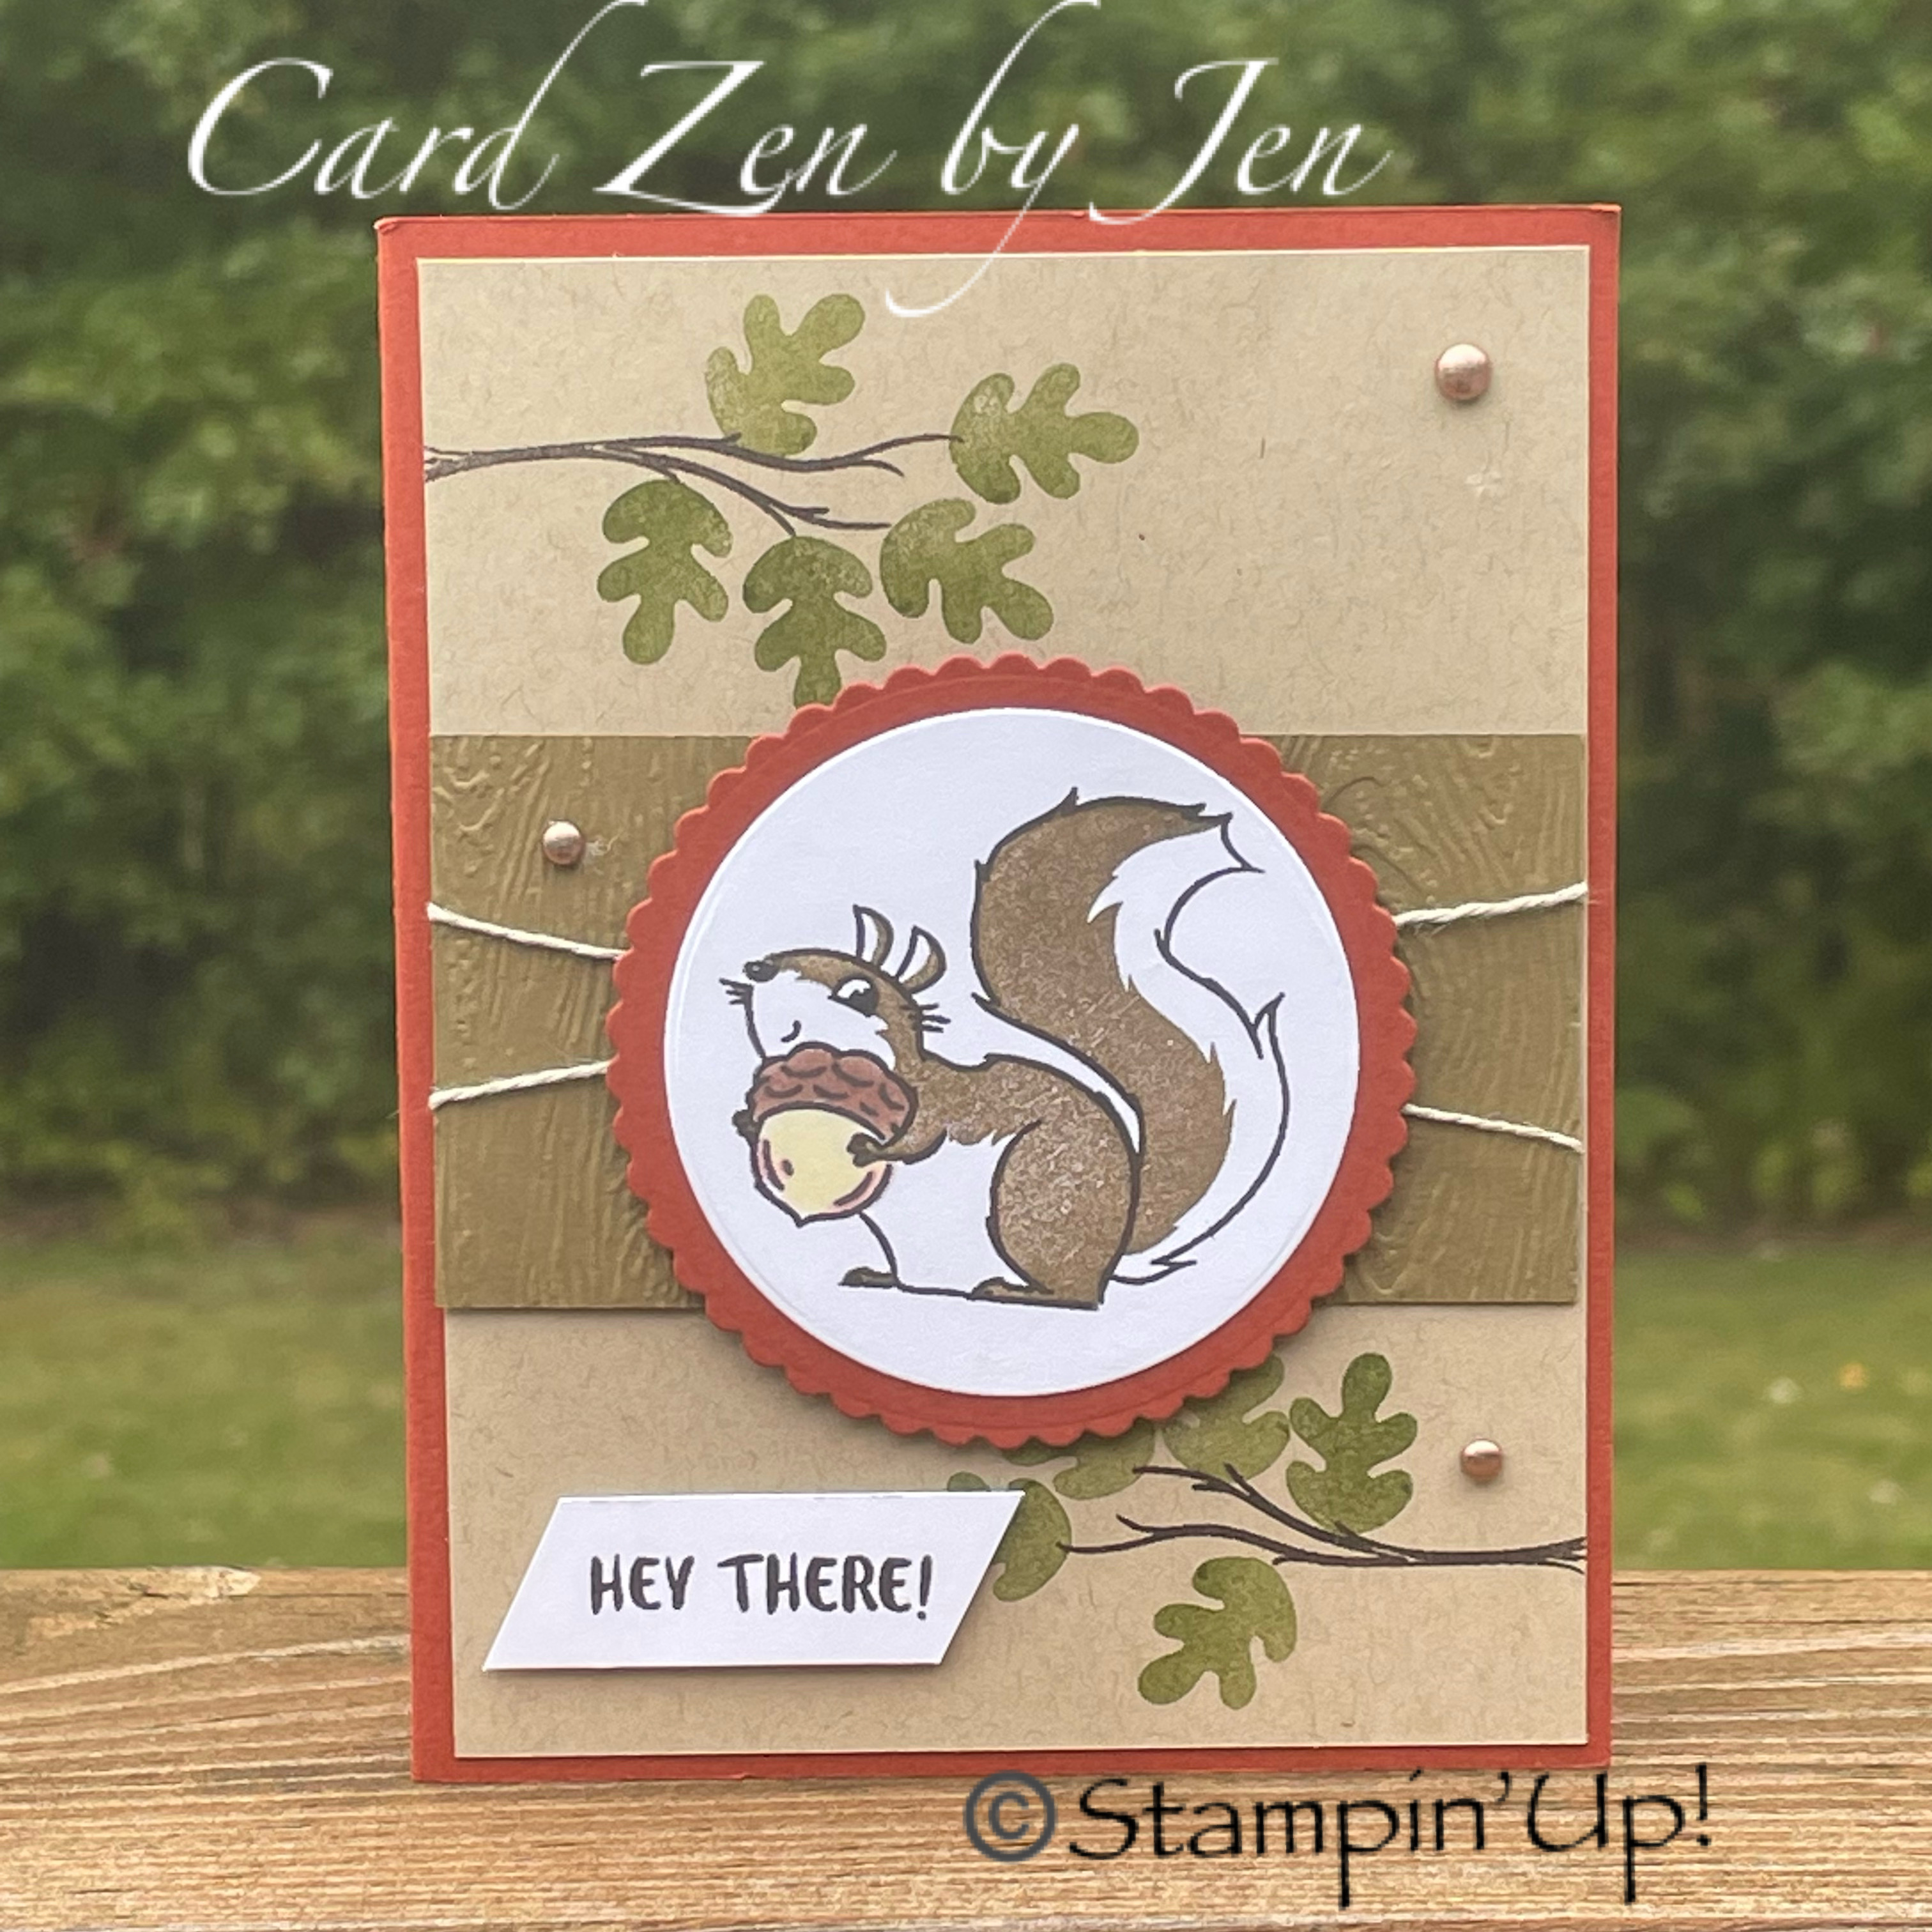
Nuts About Squirrels

This card features Stampin' Up!s Nuts About Squirrels stampset and is my October
appreciation card to my team members.
 

If you like my card, I humbly ask that you vote for me using the link below.


~Items Used~

Nuts About Squirrels Stamps 
Timber 3D embossing folder
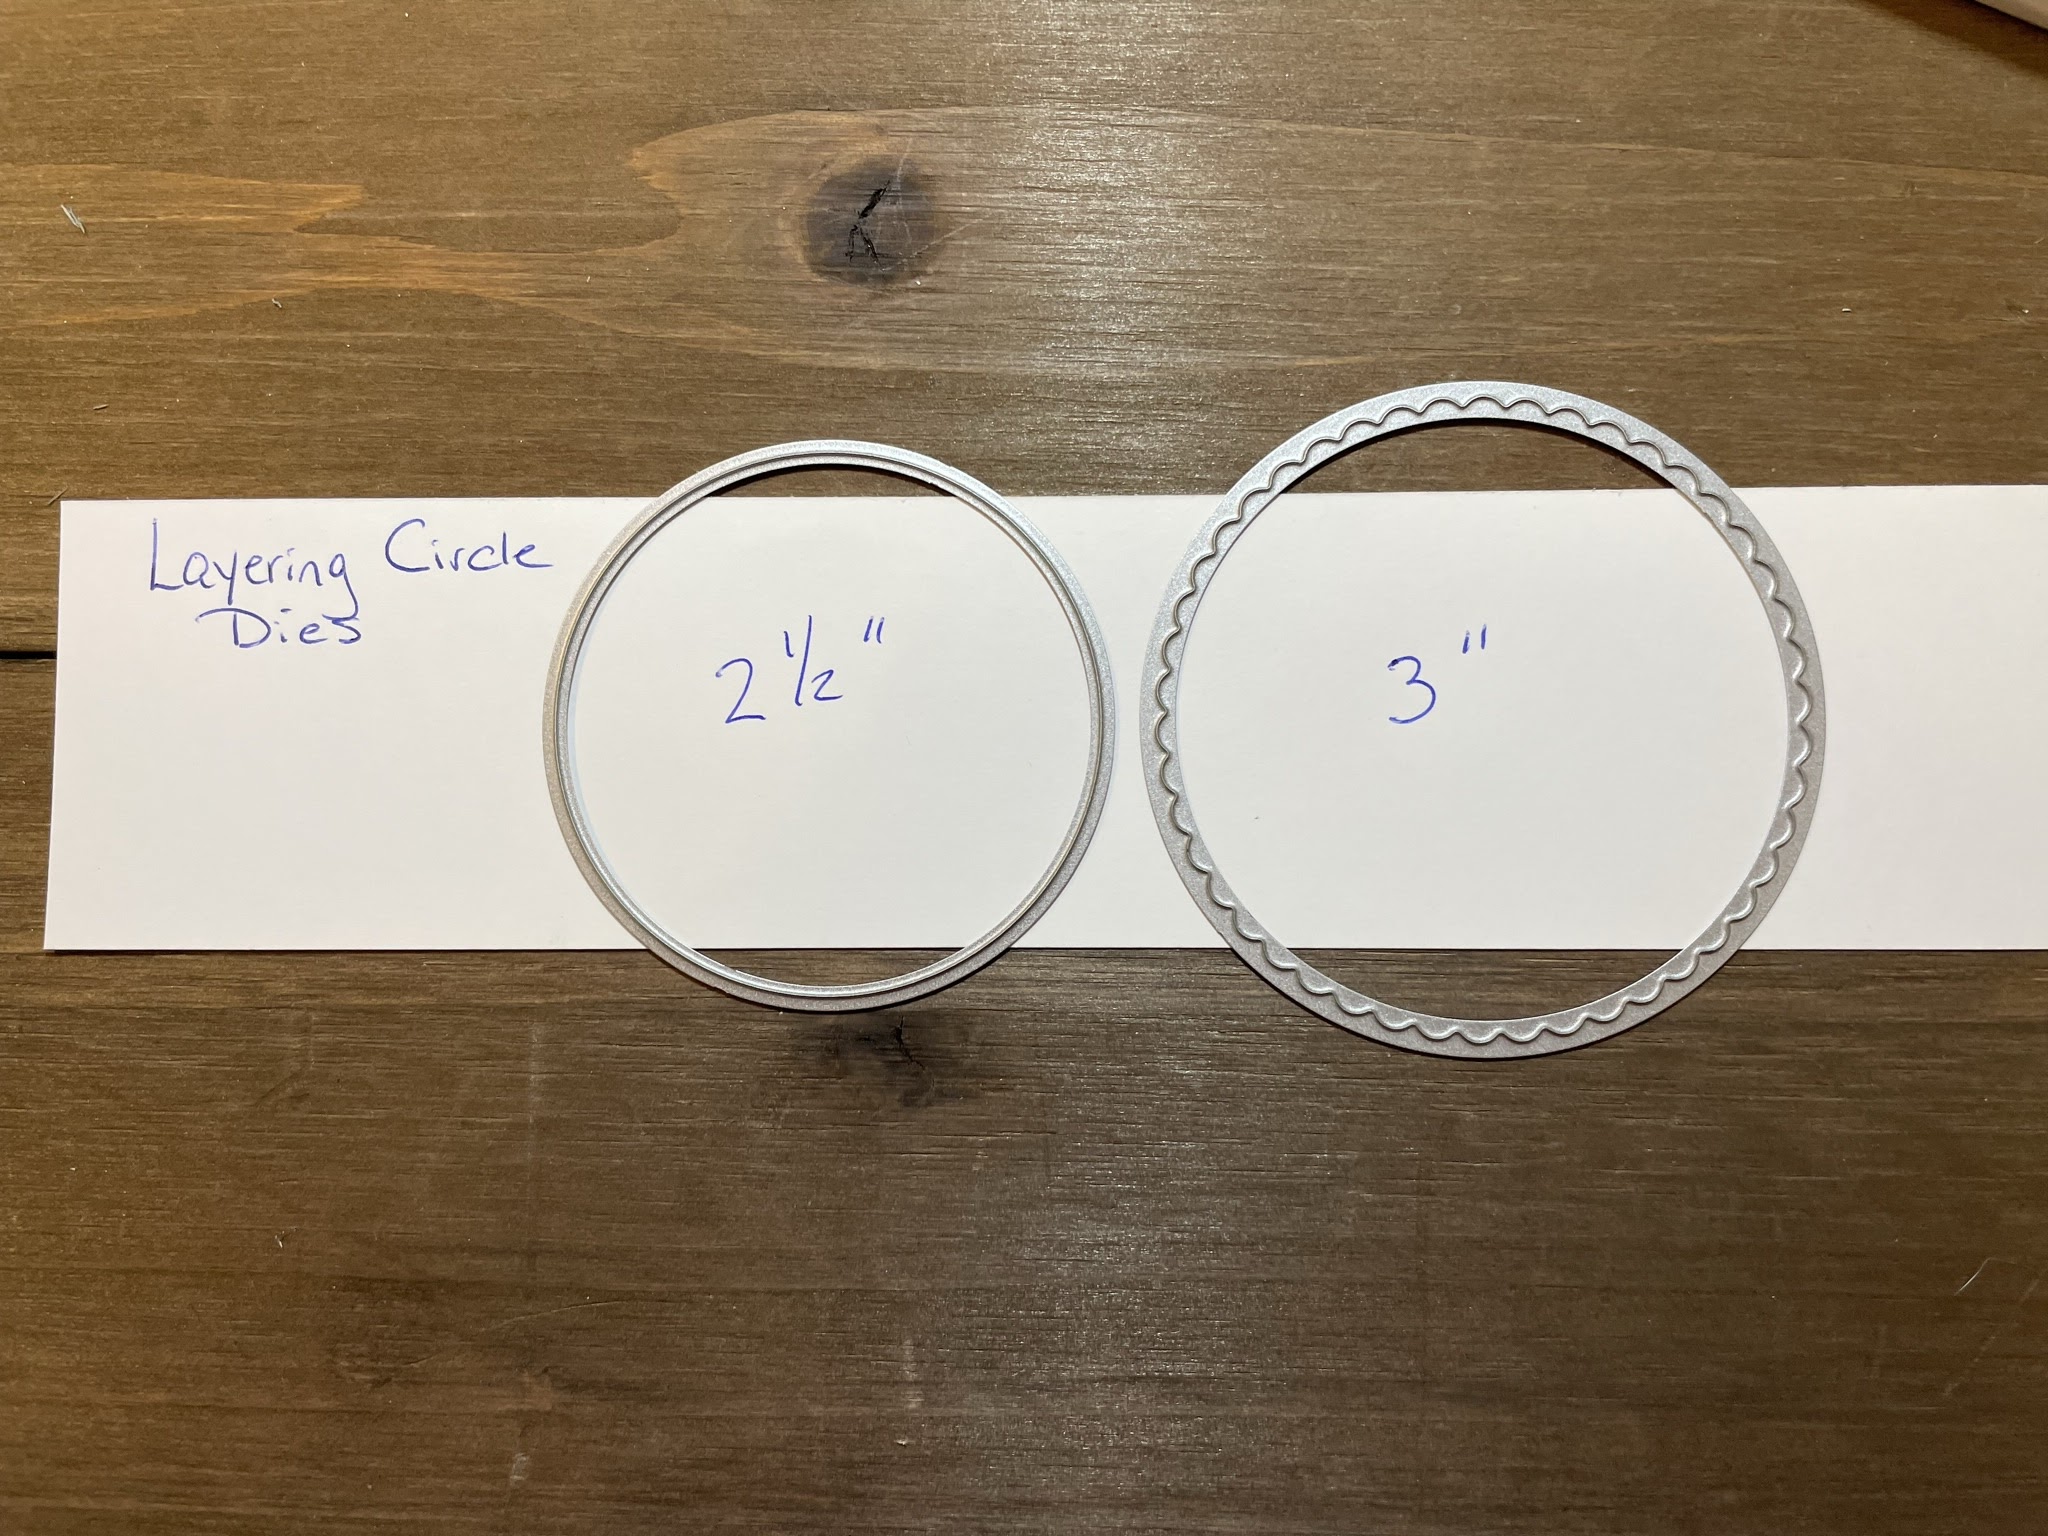
Layering Circle Dies

Cardstock:

(All measurements in inches, length x height)

Cajun Craze-     8½ x 5½, scored at 4¼
                           3¼ x 3¼
Crumbcake -      4 x 5¼
Soft Suede  -      4 x 2
Basic White -     2¾ x 2¾
                           scrap
                          
Inks:
Early Espresso
Old Olive
Soft Suede

Stampin' Blends Markers:
Ivory
Bronze

Embellishments:
Brushed Metallic Adhesive-Backed Dots
Linen Thread
 
  ~Fold the Cajun Craze cardstock in half and burnish with the Bone Folder to create cardbase.


 ~ On the Crumb Cake cardstock, stamp the branches in Early Espresso ink and the leaves in Old Olive ink.  Then adhere to the front of the cardbase.


  ~Using the embossing machine, place the Soft Suede cardstock into the Timber embossing folder and run it through.
 
 
~Criss-cross the linen thread and adhere it to the back of your embossed Soft Suede cardstock using the mini glue dots.  Then adhere the Soft Suede cardstock to the card  front.


 ~Stamp the squirrel in Early Espresso ink then stamp his body in Soft Suede ink. 

 ~Using the embossing machine, die cut the squirrel using the smooth-edged circle and die cut the Cajun Craze scrap piece using the scalloped circle.


 ~Color the acorn with the Bronze and Ivory Stampin’ Blend markers.


 ~ Adhere the circles together then adhere to the front of the card with dimensionals.

    ~Stamp your sentiment in Early Espresson on the scrap of Basic White and cut out with your snips.

   ~Add the embellishments.

Let's shop together!
Now is a great time to shop for the tools and embellishments used to make this card! **If you place your order of $75 or more on October 4th you will get FREE shipping!

Click HERE for an easy shopping list!


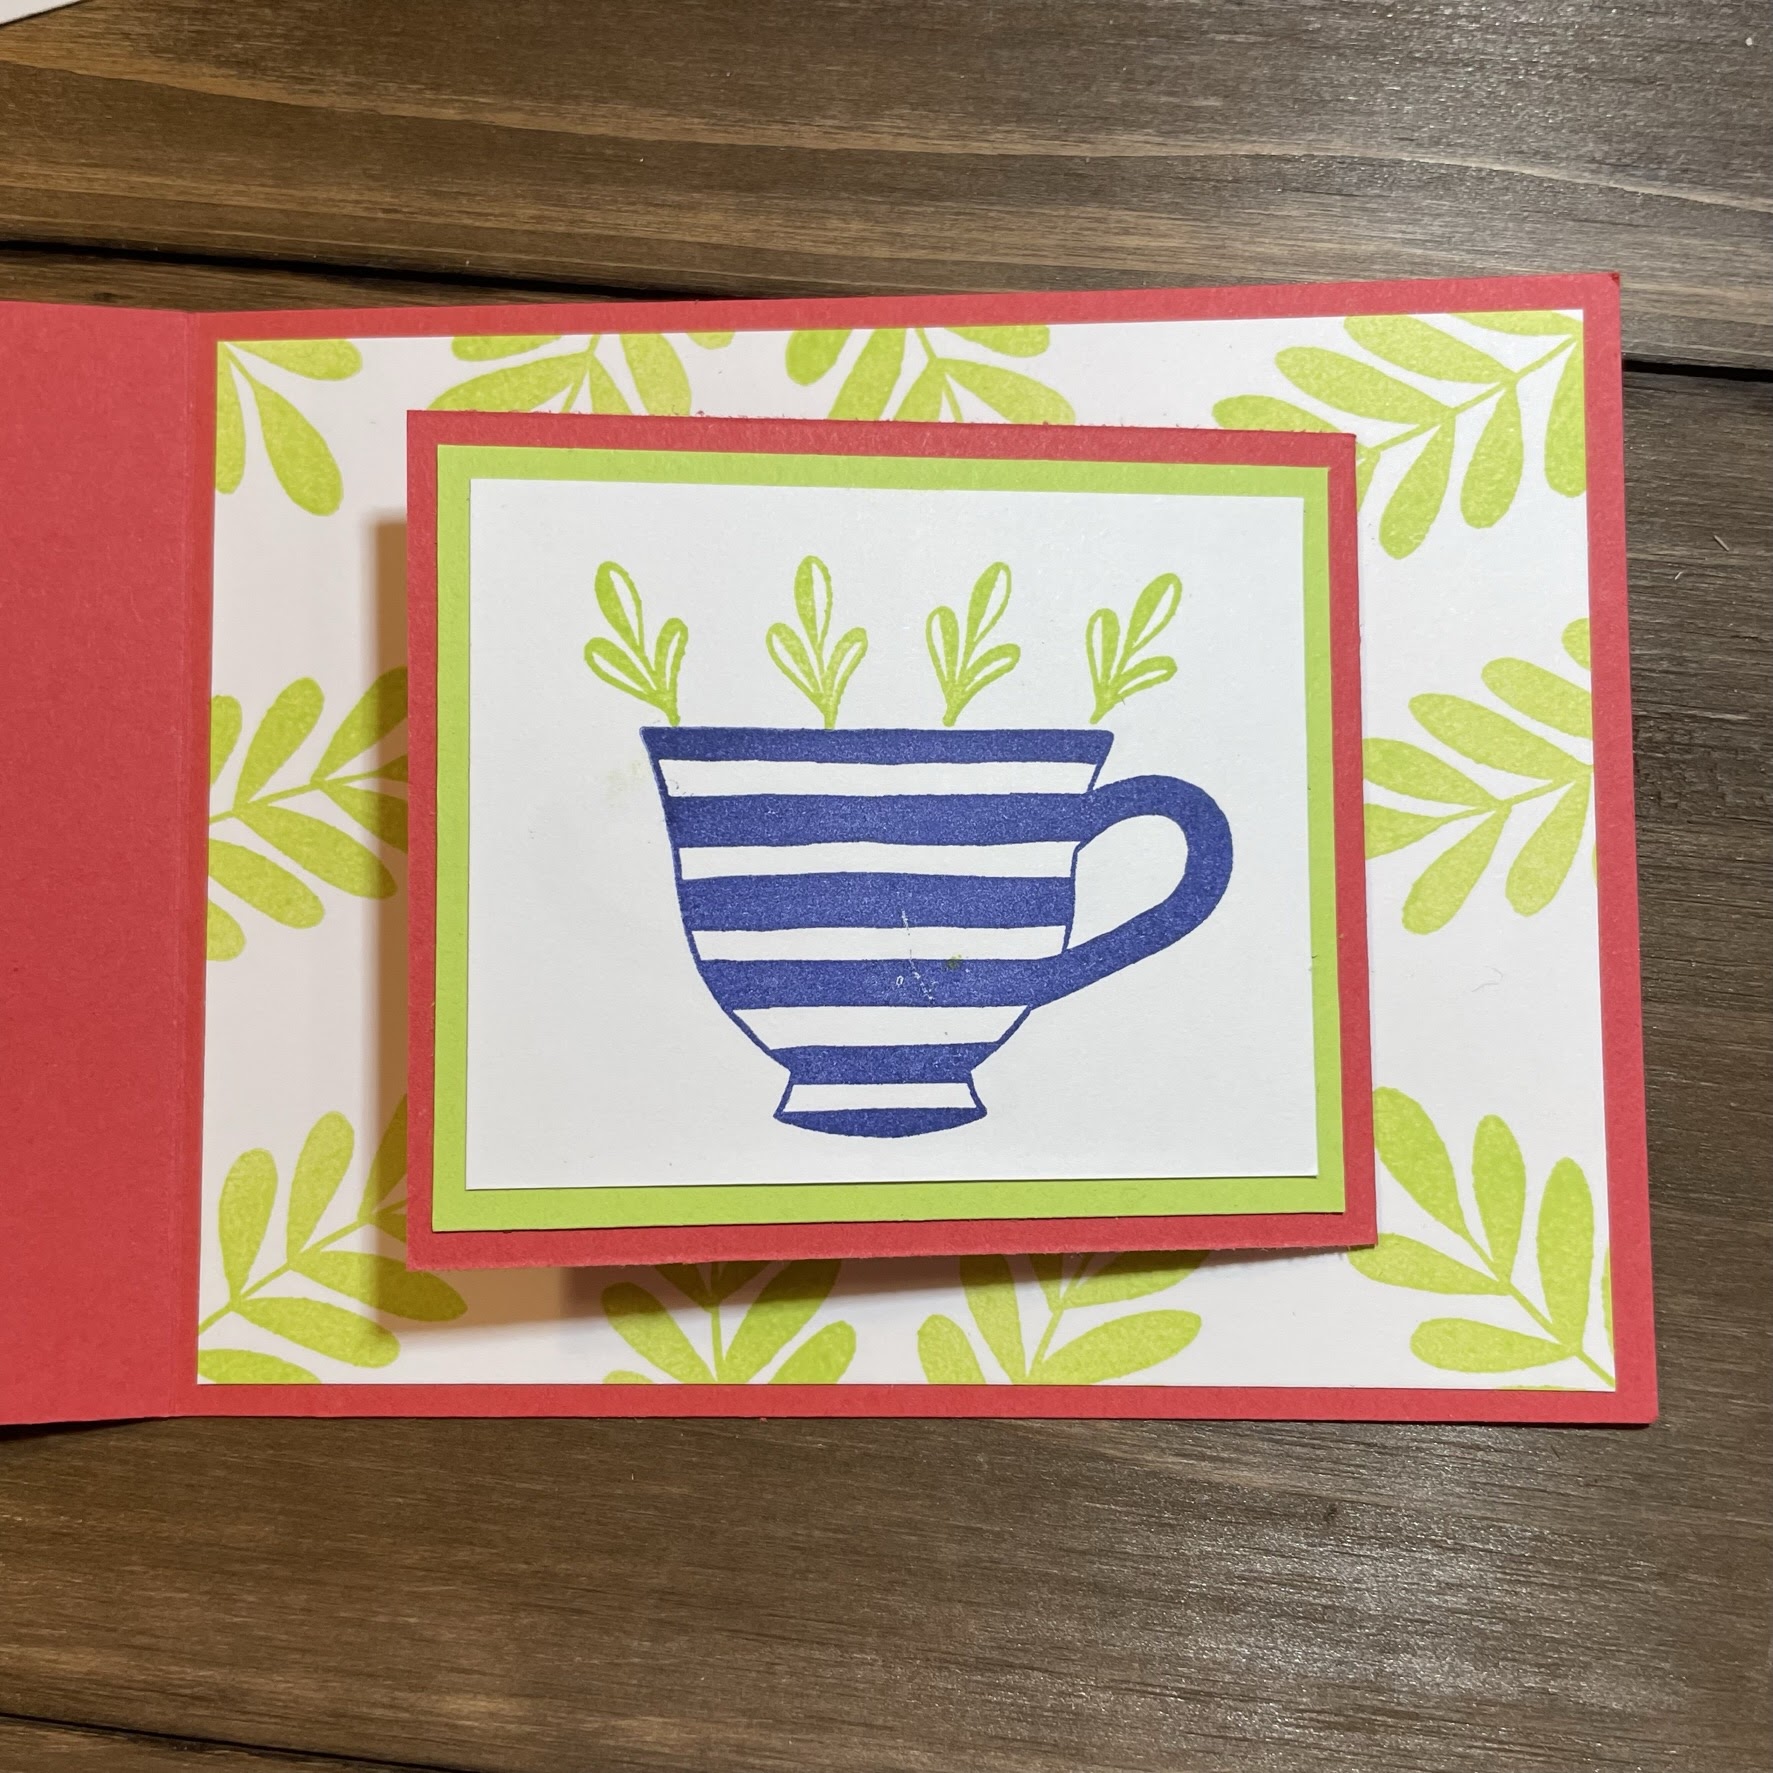
Cup of Tea Fun Fold Card


August Customer Appreciation Card
Shop with me in August and get this card free!
No host code, no hassle, just order through me here!


  When you reach the
bottom of my blog, just click on the link list to get to the next blog!


As soon as I saw the Cup of Tea stampset and dies in the new annual catalog, I knew I had to have them.  So many ideas were running through my head..... yet, here we are in August before I finally got a chance to use it.  I hope that you will love it too!

~Items Used~

Cup of Tea Stamps and Dies

Cardstock:

(All measurements in inches, length x height)

Sweet Sorbet-     8¼ x 4¼, scored at 2¾
                           7 x 3, scored at 3½
Starry Sky -        2½ x 4 
Parakeet Party -  3¼ x 2¾ 
Basic White -     5¼ x 4
                           3¼ x 2¾
                           3 x 2½ 
DSP -                 2 x 3
Crushed Curry and Daffodil Delight scraps

Inks:
Parakeet Party
Starry Sky

Embellishments:
Pearl Basic Jewels


 Fold the two pieces of  Sweet Sorbet cardstock at the score lines. The largest piece is your cardbase with the fold on the left.  The smaller piece will be folded on the right - then set aside.
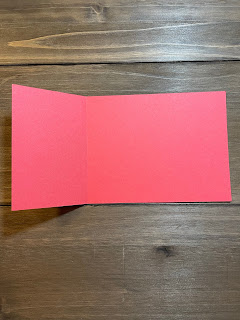
Larger piece folded
Smaller piece folded

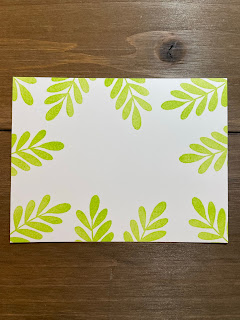
 Stamp the green leaves in Parakeet Party around the edge of the largest piece of Basic White cardstock.  Adhere it to the inside of the card.
 

Adhere the Starry Sky cardstock to the left side of the cardbase.  Add the DSP of your choice at an angle.
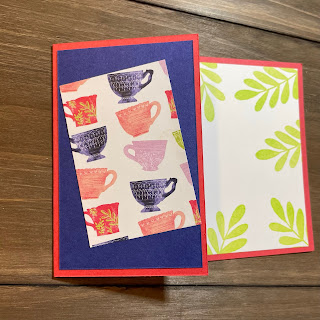

Adhere the folded Sweet Sorbet to the center of the stamped Basic White piece. The fold should be on the right side. 


Stamp the sentiment in Starry Sky on the larger Basic White piece. Adhere it to the inside of the Sweet Sorbet.


Stamp the teacup in Starry Sky and the small leaves in Parakeet Party on the smaller Basic White piece.  Then adhere it to the Parakeet Party cardstock, then adhere that to the front of the smaller Sweet Sorbet. 


Use the lemon die to cut the lemon pieces using the  Crushed Curry and Daffodil Delight scraps. Adhere them together then add a dimensional at the bottom of the lemon- DO NOT ADHERE IT TO THE CARD YET!!


CLOSE THE CARD TO DETERMINE WHERE TO ADHERE YOUR LEMON.  Use a dimensional to adhere the lemon so that it holds your flap closed.


WAIT! WAIT! WAIT!  We need bling!!

Add your pearls to the cup!


Don't forget to hop on over to the next blog on the list!  


Season of Chic


This card features the beautiful shells of the Season of Chic stampset and Chic dies.  The stamps in this set are so versatile and there are so many dies - 19 in all- to use for every season of the year. Scroll down to learn how I made this.


This card is part of Kylie Bertucci's International Blog Highlights for August and I am much appreciative of the opportunity to participate with such wonderfully talented stampers.  

If you like my card, I humbly ask that you would click the link below to vote more me.  Don't worry, the info on how to make the card is here if you just scroll a little farther.


Did you vote?????  Good.... now let's move on to making this card.

The words that come to mind for this card are "simply elegant" which is my favorite genre.


  • Cut your cardbase: Very Vanilla cardstock 11" x 4¼", scored at 4¼" and 5½".
  • Apply the DSP of your choice (4" x 1⅛") to the left side.  Add ribbon.  Then adhere the cardbase together to the inside to create a "bookbinding" effect.
  • Diecut the large hatched pattern from the Dazzle paper left over from Sale-a-bration's past. Use any sparkly paper you have on hand. If the paper is thick, you will need to run it a few times back and forth through your embossing machine. (Or spend 15 minutes picking out the pieces)
  • Stamp the seashells in Crumb Cake onto Flirty Flamingo cardstock then die cut them.  Use your bone folder to "bend" them under, breaking the fibers in the paper and creating dimension.
  • Die cut the large shell from the Lovely Lipstick Metallic paper from days gone by... if you have it. If not, any bright metallic will do. Die cut the small conch shell from the gold metallic paper.
  • Stamp the sentiment in Merry Merlot onto Very Vanilla cut to 3¾" x 1". Then adhere to Flirty Flamingo (4" x 1¼"). Adhere to the card using dimensionals.
Check out the stamps and dies in the Season of Chic bundle.  It is just $57.50 for the bundle and if you order before the end of August, you will earn free product for Sale-a-bration!
Click here to shop now!


Thanks for hanging out with me!  I hope to see you back soon!


Happy Forest Friends


Vote for this card below!! (please)

This is July's team member appreciation/welcome card. I am featuring the Happy Forest Friends Suite collection from the new annual catalog (Item #158956).  For just  $68.50, you get the stampset, the dies, the two-pack of ribbon and the 12 x 12 DSP pack...AND, if you order during Sale-a-bration, it qualifies for a free item from the SAB catalog!!!  

This collection was inspired by Million Sales Achiever Diane Dimich so I felt it was fitting to showcase this in my team member appreciation card - since nobody can ever reach that achievement without the help of great team members and customers.  

This card is also part of Kylie Bertucci's Monthly International Blog Highlights Gallery.

If you like my card, I humbly request that you vote for me.


I used the DSP as the background but to make the bear "peek" from behind the tree, I just used an exacto knife and made a slice in the right side of the tree.  

Use the knife to make a slit on the right side of the tree.

Slide your bear through the slit.  

After positioning your bear and trimming his bottom, pop his head and arm up with a dimensional.

Hope you enjoyed the Happy Forest Friends Suite!  You can find the link here to order your own!


Are you interested in joining my team??  The Sale-a-bration "join" offer is spectacular.  You get to pick $125 of any product and pay just $99. There is no shipping cost on this order and you will also get the Making Plans Collection for free!  You will enjoy and ongoing 20% discount while you remain and demonstrator.  Selling is not required.... many join for the discount on their own hobby supplies.  But once you get started, you can't help but want to share with your friends and family.  Click here for more information and to see the Making Plans Collection.  Feel free to message me for more information or with any questions at CardZenbyJen@yahoo.com.


Top Ten International Highlights with Kylie Bertucci


My Grassy Grove Peaceful Cabin card placed in the top 10 so I have the honor of participating in this special Kylie Bertucci's International Winners Blog Hop! (I literally screamed when I found out!!)

My husband and I have always loved to camp and looking up into the starry sky was magical. I hope that I recreated this feeling for you.


The upcoming Sale-a-Bration treasure, Tree Lot Dies, is a must for any camping enthusiast!  You are going to love it!  And it is not just for winter scenes!!

I used the Tree Lot Dies (from the upcoming SAB catalog- starting 7/1/2022) to cut out the trailer then used the Stampin' Blends to color the trailer as shown. It does not need to be perfect.


I used the dies and the silver foil paper to make the top and bottom panels of the trailer.


I cut the trees using Mossy Meadow as the background and using Evening Evergreen for the thinner pieces. (The Tree Lot Dies has three different tree sizes.)


Now, how did I make that beautiful starry sky????  I took Starry Sky cardstock and used the die from "Labels Aglow Dies" to cut the top portion. Then I added gold foil behind it.


I did use a blending brush to apply more Starry Sky ink to the edges of the starry sky.  I also applied some Whisper White ink with a sponge to create a "glow" from behind the camper.


Just piece it all together on Real Red Cardbase to create the scene that makes you happy!

ALL OF THESE PRODUCTS WILL BE AVAILABLE STARTING 7/1/2022!!!!!!!!!!!!!!!!! Check back here on 7/1 for the link to the stampset and dies used.  Just think, you can get the Tree Lot Dies for free when you make a $50 purchase.  

No hop on along to the others in June's Top Ten.  You will not be disappointed. Thanks for checking out my card!


Whale Done - June Customer Card


Welcome back to this awesome blog hop.  When you reach the
bottom of my blog, just click on the link list to get to the next blog!


Order from me and get this card - FREE! 
Be sure to use my current host code ---->


The Whale Done stampset and punch stuck around for another year in the 2022 Annual Catalog. This is one stampset that I really haven't played with too much, so now is a great time.  I was disappointed that the DSP is no longer available... so I decided to make my own. 

Items used:

Whale Done stampset
Inks: Pear Pizzazz, Old Olive, Blackberry Bliss
Cardstock: Shaded Spruce (8½" x 5½", score at 4¼" and another 3"x 3" piece), Balmy Blue (4" x 5¼"), Basic White (3"x3")
Dies: Layering Circles
Embossing Folder: Hive 3D
Opal Rounds


~ On the Balmy Blue cardstock, stamp the “seagrass” on the top and bottom edges in Old Olive and Pear Pizzazz ink.  Stamp the fish and jellyfish in Blackberry Bliss.

~Emboss the stamped Balmy Blue cardstock with the Hive 3D embossing folder.

 ~Adhere it to the front of your cardbase.


~Using the Layered Circle dies, cut the scalloped edge circle from the Shaded Spruce paper and the smaller circle from the Basic White piece.


 ~On the white circle, stamp the whale in Blackberry Bliss and the sentiment in Old Olive.


~Adhere the Basic White circle to the Shaded Spruce scalloped circle then adhere to the front of the cardbase using dimensionals.


~Add the Opal Round embellishments.


Place your order using my current host code WPJ4E69Q to get your free card.  The link is provided on the right of my blog.


Remember to hop on over to the next blog!