August Customer Appreciation Card
 |
| Shop with me in August and get this card free! No host code, no hassle, just order through me here! |
 |
| When you reach the bottom of my blog, just click on the link list to get to the next blog! |
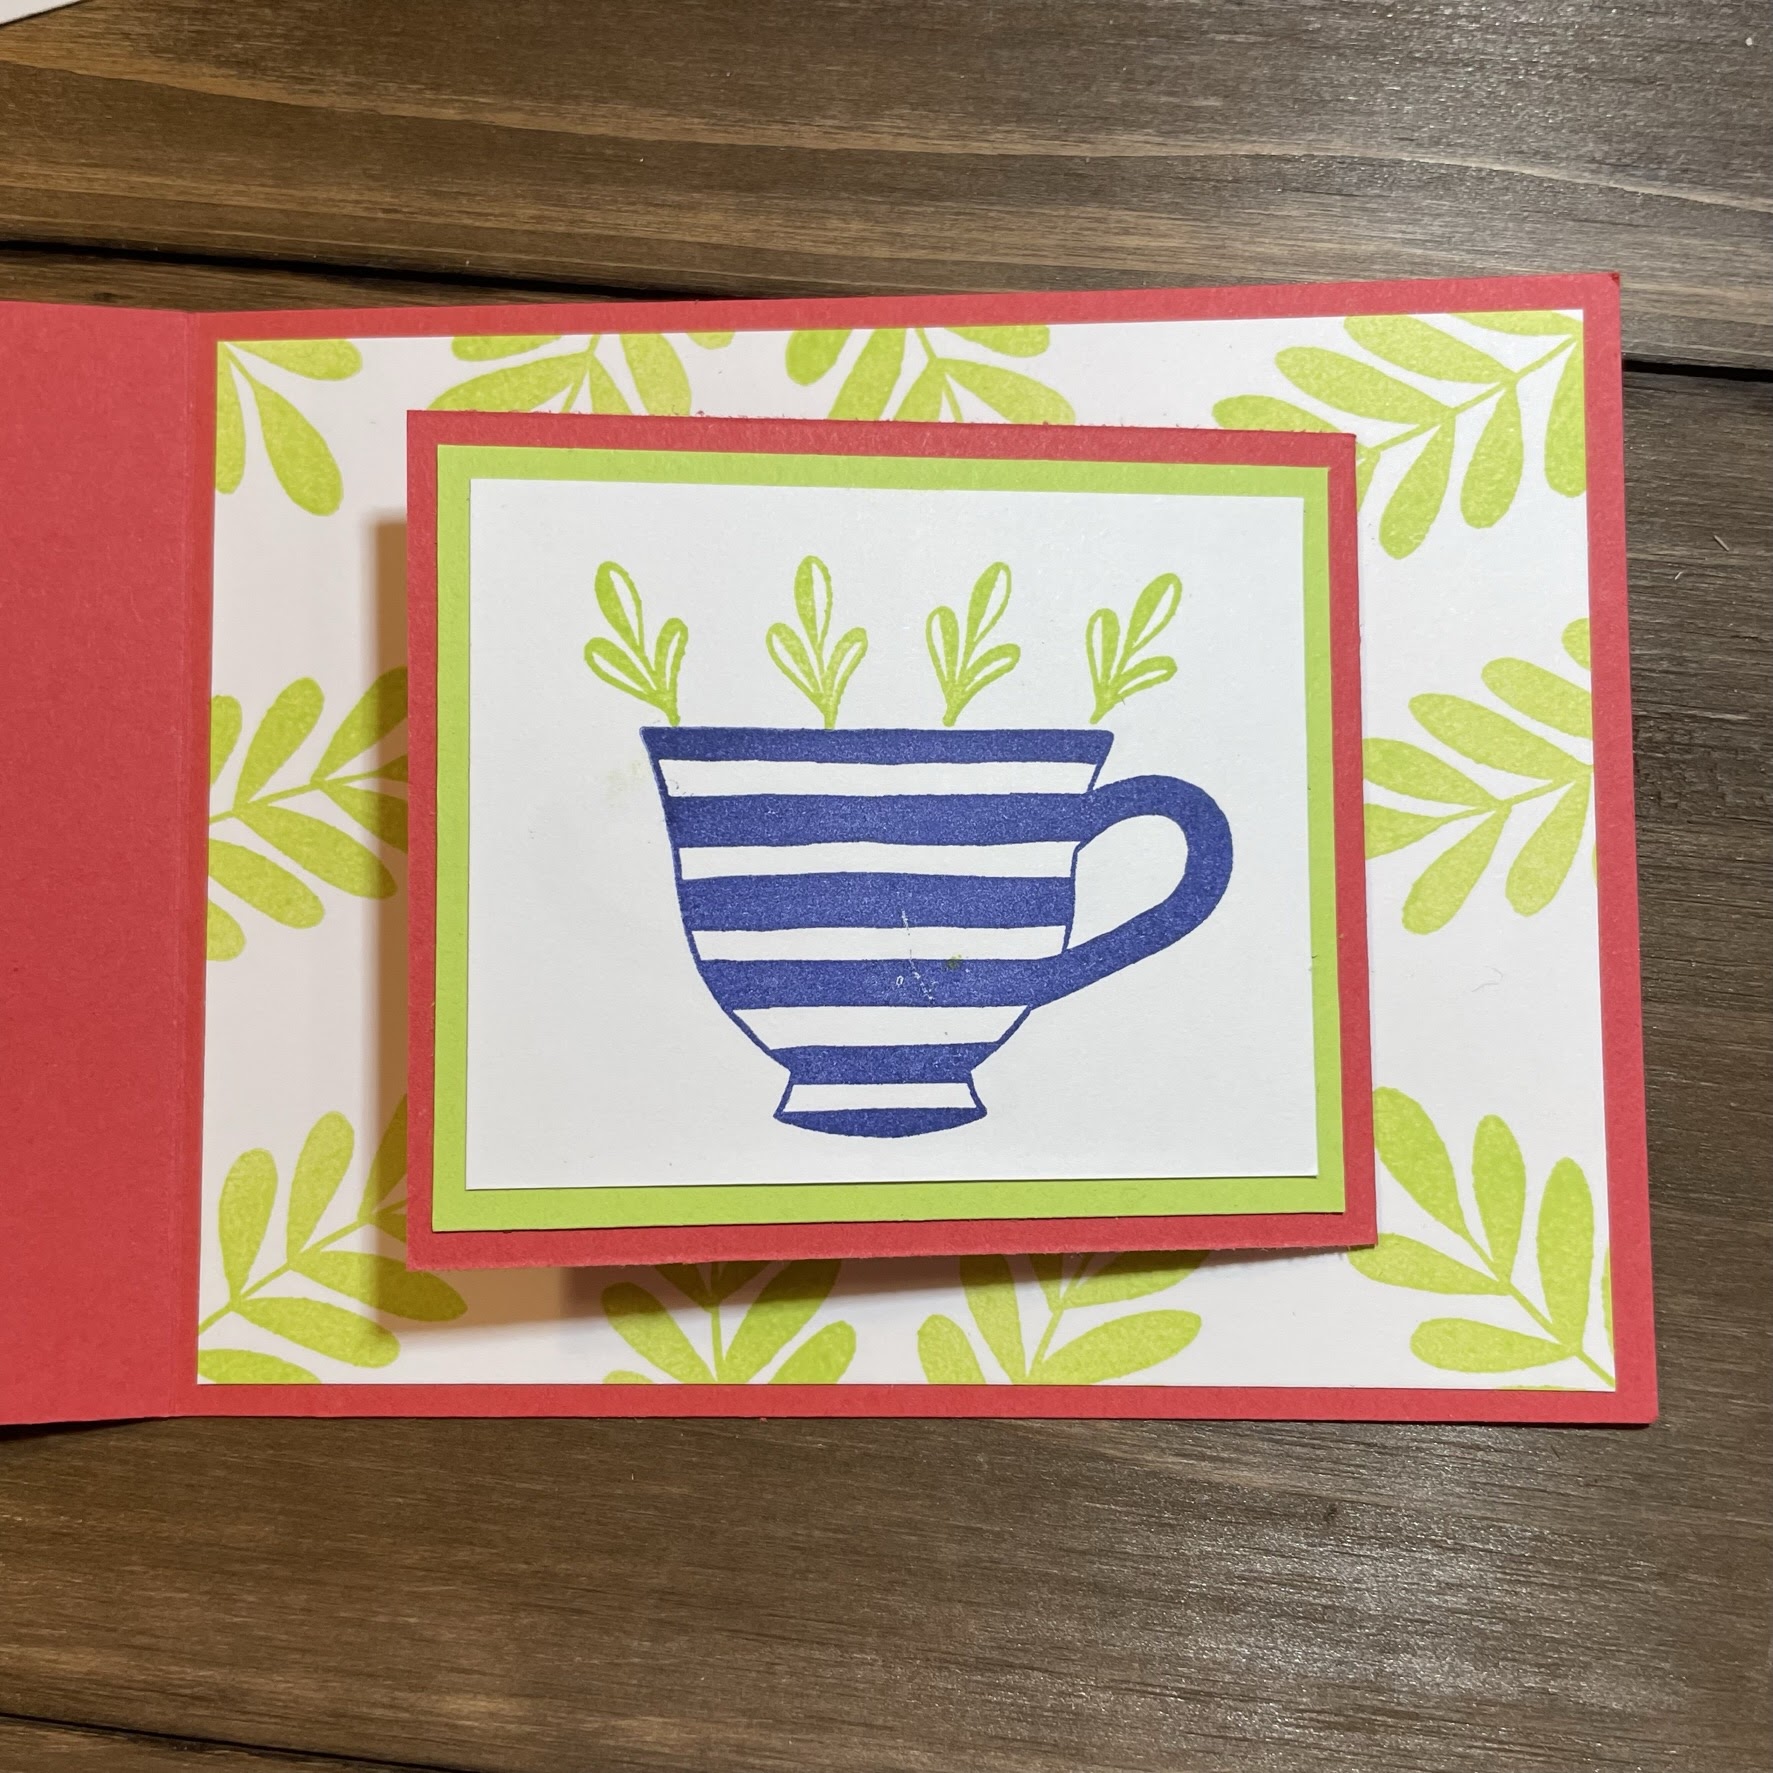
As soon as I saw the Cup of Tea stampset and dies in the new annual catalog, I knew I had to have them. So many ideas were running through my head..... yet, here we are in August before I finally got a chance to use it. I hope that you will love it too!
~Items Used~
Cup of Tea Stamps and Dies
Cardstock:
(All measurements in inches, length x height)
Parakeet Party
Starry Sky
Fold the two pieces of Sweet Sorbet cardstock at the score lines. The largest piece is your cardbase with the fold on the left. The smaller piece will be folded on the right - then set aside.
 |
| Larger piece folded |
 |
| Smaller piece folded |

Adhere the Starry Sky cardstock to the left side of the cardbase. Add the DSP of your choice at an angle.

Adhere the folded Sweet Sorbet to the center of the stamped Basic White piece. The fold should be on the right side.

Stamp the sentiment in Starry Sky on the larger Basic White piece. Adhere it to the inside of the Sweet Sorbet.

Use the lemon die to cut the lemon pieces using the Crushed Curry and Daffodil Delight scraps. Adhere them together then add a dimensional at the bottom of the lemon- DO NOT ADHERE IT TO THE CARD YET!!


CLOSE THE CARD TO DETERMINE WHERE TO ADHERE YOUR LEMON. Use a dimensional to adhere the lemon so that it holds your flap closed.

WAIT! WAIT! WAIT! We need bling!!
Add your pearls to the cup!

Bright and cheery. Love it. Thank you for taking part in our Demonstrator Training Blog Hop this month.
ReplyDeleteLove this fold Jen, great with the bold colours :)
ReplyDeleteCute card! Love fancy folds!
ReplyDeleteLove the bright colours
ReplyDelete