Rolling with the Woven Paper Punches!!


So, I was thinking one day (my husband will tell you nothing good or at least inexpensive ever starts with that sentence.)😉  We stampers like to color, blend, cut, fold and stamp the paper.  BUT WHY NOT WEAVE THE PAPER??  Then punch the woven paper out. It really is easier than it sounds.  The end result is a beautiful quilted look.  I started with the heart.  Then I was thinking... I know, I know, it gets me into trouble.  But wouldn't a hot air balloon look more realistic with woven paper? Let me walk you through it. 

Heart Design:
  • Cut Oh So Ombre into 1/2 inch strips (you either need two different colors or patterns).  For one heart, you will need five strips of one design/color and 4 strips of the other design/color.
  • Cut a scrap piece of white cardstock (not thick)  to 4 x 3 inches
  • Run a strip of adhesive along the bottom of the cardstock using the Stampin' Seal +.
  • Apply the strips of one design/color vertically across the cardstock, side to side. I alternated light and dark to give more variance. Press down at the bottom so they stick but the tops will be loose.


  • Run a strip of adhesive along the right side of your strips. Then weave each strip horizontally, then press it into the adhesive once woven and in place.  As you build the layers, apply a little glue between the weave and the cardstock and press firmly.

  • Grab your heart punch!  You can punch it straight up and down or  punch at an angle to create another look.

It created the perfect heart for this card!


Hot Air Balloon Design:
  • Cut cardstock (or DSP) into ¼ inch strips, using two different colors. You will need 8 of each color.
  • Cut white cardstock (not thick) into 3 x 3 inches
  • Run a strip of adhesive along the bottom of the cardstock using the Stampin' Seal +.
    
  • Apply the strips of one color vertically, pressing the bottom into the adhesive.
  • Run a strip of adhesive along the right side of your strips.


  • Then weave each strip horizontally, then press it into the adhesive once woven and in place.  As you build the layers, apply a little glue between the weave and the cardstock and press firmly. It will be a little hard to get the strips tight together because of the thickness of the cardstock versus the DSP that was used with the heart design.


  • Once you get your weave large enough for the punch design, then punch it out!


  • Apply a little glue to hold down any loose edges.
  • It is hard to see in the photo, but I also applied some Wink of Stella to the balloon to give a "glistening in the sun" effect.

And here is the full card!


These were just my first two attempts but I will be using this technique a lot!  I guess Basketweaving 101 at Penn State could have some uses after all!

Try it out! I would love to see how you use Woven Paper in your projects.  We're just rolling with the woven paper punches in 2021!

Do you live in the U.S.?   Shop with me!  The Oh So Ombre paper is only available until 2/28/2021 and is free, yes free, when you purchase $50 of product. 
Get your Oh So Ombre today!!


Elephants and Donkeys Unite!!


 For those living in the U.S. it has been a rough few months.  The political climate is stifling and there is no lack of enthusiasm on either side.  So what do I do???  Keep stamping and add some humor....

I'll introduce you to two techniques used to make these cards: the Reverse Mask technique and the Scrappy Strips technique (the cheating/easy way).

Card #1: Cocktails

    Face it, we all need to have a drink and chill out!


Stamps: Nothing Better Than, Wildly Happy and Darling Donkeys

Ink: Memento Black

Designer Series Paper: Classic Christmas and Brightly Gleaming

-Stamp the Elephant from the Wildly Happy stamp set using the Reverse Mask technique so that you only stamp the large elephant and not the baby. 

    Click here to see the reverse masking instructions.

- Stamp the Donkey.

- Stamp the sentiments.

- Color the donkey and elephant with Stampin' Blends (used gray granite and crumbcake blends.)

- Cut out using the largest rectangular die from the Stitched So Sweetly dies. 

- Stamp "cocktails" and cut out using punch or die- whatever you have is good. Adhere using dimensionals. Add bling.

-Adhere this to your background piece or cardbase.  

    Click here to see the easy strips instructions.


Card #2: We're in this Together


Stamps: Heal Your Heart, Wildly Happy and Darling Donkeys, (the cooties phrase is from Stampendous)

Ink: Memento Black, Night of Navy, Cherry Cobbler, Mossy Meadow

Designer Series Paper: Classic Christmas and Brightly Gleaming

-Stamp the Elephant from the Wildly Happy stamp set.  In this card, the baby elephant is covered up so no reverse masking is needed.

-Stamp the Donkey.

-Use a blending brush with Night of Navy to create the blue sky. 

-Use a sponge with Mossy Meadow to create the ground.  

-Color the donkey and elephant with Stampin' Blends (used gray granite and crumbcake blends.)

-Stamp the sentiment with Night of Navy.

- Cut out using the largest rectangular die from the Stitched So Sweetly dies. 

-Stamp the cooties quote and use a circular die cut. Adhere with dimensionals. (Hint: If you don't have a stamp for what you want to say, use your computer and print it on cardstock.)

-Adhere it to your cardbase or background piece. 

    Click here for the easy scrappy strips instructions.


You don't want to miss out on the Darling Donkey stamp set.  It is available until February 28th as a Sale-a-bration item.  That means that if you spend $50 with Stampin' Up!® then you get to pick something out of the Sale-a-bration brochure for FREE! Spend $100 and you get to pick from the $100 list.  

Click here to view Sale-a-bration brochure!


Art Gallery Customer Appreciation Card


Thank you for joining us for our Stampin' Up!® Demonstrator Training Program Monthly Blog Hop! We are so happy that you could join us today for this blog hop for ideas and creative inspiration. We are a group of Stampin' Up!® Demonstrators from around the world that are taking part in training that is helping us to build a successful Stampin' Up!® business and reach some goals we have set. We really appreciate your support.


You may be starting here or have come from another blog - either way you can find the link list at the bottom of this post so that you can see every blog post and idea today.


Get this card FREE when you order with me!!

Let me be clear, I am not a "flowery" kind of person and I would have normally passed this stamp set up if it wasn't for the coordinating die set, Floral Gallery.  Have you seen it yet??  Okay, here it is.


The bold text of "just want to say" hooked me... and there I went, handing over my credit card again.  Except this time, we get free product with every $50 we spend during Sale-a-bration so we are saving money, right??  *** The bundle costs $50.25 so you can earn the Heal Your Heart (has the beautiful "thank you" sentiment) with just one purchase!!!!  See??? 2021 is better already!!

If you are reading this then you know the addiction so let's all just get on to the card. This is a "no judgment" zone.

This card screams "elegance" to me. It uses my favorite color combinations- Pretty Peacock and Old Olive, Blackberry Bliss and Pear Pizzazz!

Items used:

  • Stamp Sets: Art Gallery, Heal your Heart (Sale-a-bration free item) 
  • Dies: Floral Gallery, Curvy Dies
  • Cardstock: Blackberry Bliss, Pear Pizzazz, Basic White
  • Inks: Old Olive, Pool Party, Pretty Peacock, Versamark

-Stamp the flower with Pool Party then stamp the highlight over it with Pretty Peacock.

-Stamp the center of the flower with versamark and heat emboss it using gold embossing powder.

-Stamp the leaves with Old Olive.

-Use the dies to cut them out. 

-Use the Curvy Die to cut the Blackberry Bliss (started at 4¼"x 4¾"). 

-Stamp the sentiment with Versamark and heat emboss using gold embossing powder.  

-Adhere the two pieces to the card front. 

-Adhere the leaves to the card, then adhere the flower using dimensionals.

-Add some pearls for extra bling! 


 YOU can get this card FREE just by placing an order using my current host code!! 

Click here to SHOP ALL ITEMS or JOIN MY TEAM***. 

***Joining my Stampin' Up!® team during Sale-a-bration gets you $125 of products for $99 plus free shipping, plus 5 free packs of designer series paper.  


Now get hopping to the next blog!!


Darling Donkey All Occasion Card


Here is another sneak peek of the Darling Donkey Stamp Set that will be available FREE with a $50 purchase in the upcoming Sale-a-bration starting on January 5, 2021!

This card design is so versatile that it can be used for birthdays, Valentine's Day, anniversary, get well or just a hello!

Items Used:

  • Darling Donkey Stamp Set (Sale-a-bration catalog)
  • Cardstock: Blackberry Bliss cardstock (used as base), Mossy Meadow (for vines), Early Espresso (for gate)
  • Oh so Ombre paper (also free in Sale-a-bration!)- cut to 3"x 4¼" (granny apple green)
  • Garden Gateway Dies (from the '20-'21 annual catalog)
  • Stampin' Blends (gray granite, blackberry bliss, bronze and mossy meadow)
  • Misty Moonlight and Garden Green ink for background
Using the Garden Gateway Dies, cut the white arch for the donkey, the garden gate and the vines.
 

Stamp your donkey with black ink.  I used the sponge to apply the Garden Green as the grass and I used the NEW blending brush (coming in the 2021 mini catalog!!) to apply some blue sky.  I colored the donkey using the Stampin' Blends.  


When assembling the card, I popped the gate up using dimensionals and added some rhinestones for bling.

You are going to love this donkey stamp set!!  Sale-a-bration will only last from 1/5/2021 to 2/28/2021 so don't miss your chance to add these adorable donkeys to your stamp library!!

**Do you need the new mini catalog and/or the Sale-a-bration catalog??   Message me now!!! 


2020 Stink Stank Stunk- The Grinch Special


I love the Grinch and this year is his year to shine!!  As soon as I saw the "Christmas Means More" stamp set in the Stampin' Up!Ⓡ mini catalog, I knew I had a Grinch card in me that would work it's way out!!

As an added bonus, my office held a Grinch day instead of our usual Ugly Christmas Sweater day so I had every reason to whip up some signs to hang about.  "Stink, stank, stunk"!  Yep, that pretty much sums up 2020.  

Here are the products I used in each project.

Christmas Card:

  • Christmas Means More Stamp Set (sentiment)
  • Sweetest Time Stamp Set and Dies (holly and greenery)
  • Heartfelt Stamp Set (small hearts)
  • Heart Punches (hearts on cover)
  • Make a Difference Stamp Set (numbers on heart)
  • Layering Circles Dies (circles)
  • Granny Apple Green was the perfectly grinchy color and I ran it through the embosser using the Tasteful Textile folder. 

The most challenging item on this card was the hearts.  I punched the heart from white cardstock and punched the scalloped heart from cherry cobbler cardstock.  I stamped the small heart from Heartfelt in the center, then used the medium heart from Heartfelt but used a Stampin' Write marker to ink just the heart.  I then used the numbers from the Make a Difference to label them 1 and 2. 

I should have made a video but it would not have been a PG rating!  Sometimes, you just have to try until you get the result you want.  And maybe it won't be what you intended, it might just be something better!!  Don't be afraid, it is just paper and ink!!!!


2020 Sign:

  • Oh so Ombre paper (coming in January's Sale-a-bration!!)
  • Playful Alphabet Dies
  • Foam Adhesive Sheets


The alphabet dies and foam adhesive sheets made this sign embarrassingly easy!  Don't tell my co-workers! They thought it was brilliant. 

Just adhere the ombre paper to the front of the foam sheet. Keep the backing on.  Use the dies to cut out the letters.  The die will cut through the paper and foam.  Just remove the backing and adhere it to your sign.  Easy!  And it pops up your letters to give a dimensional look.


Thanks for looking and if you have any questions, just e-mail me at cardzenbyjen@yahoo.com.


Darling Donkeys Thank You


Thank you for joining us for our Stampin' Up!® Demonstrator Training Program Monthly Blog Hop! We are so happy that you could join us today for this blog hop for ideas and creative inspiration. We are a group of Stampin' Up!® Demonstrators from around the world that are taking part in training that is helping us to build a successful Stampin' Up!® business and reach some goals we have set. We really appreciate your support.


You may be starting here or have come from another blog - either way you can find the link list at the bottom of this post so that you can see every blog post and idea today.


Today I will be showing the Darling Donkeys thank you card.


Order with me and I will send you this card as my "thank you!"


I only have one word for these donkeys- adorable!! This is a special sneak peek of items awaiting you on January 5th in the new Jan-June Mini  and the SALE-a-bration! catalogs.  Demonstrators not only get a discount, we also get to pre-order from the catalogs and even earn SALE-a-bration items before the official release.  I don't know about you, but patience is NOT my virtue.  Become part of my team  and order today!!

Okay, on to the main attraction.  Here are the items used on this card!

  • Darling Donkeys (FREE with a $50 order)
  • Dragonfly Garden (in the new Mini catalog)
  • Oh So Ombre Designer Series Paper (FREE with a $50 order)
  • Mossy Meadow Braided Linen Trim (in the new Mini catalog)
  • Quite Curvy Dies (in the new Mini catalog)
  • Ladybug Trinkets (in the new Mini catalog)
*Links to shopping the new items cannot be created until 1/5/2021 when the catalogs are released.


Directions:

Start with mossy meadow cardstock cut to 8½" x 5½", scored at 4¼" to create your card base.  

Cut white cardstock to 5½" x 4¼".

Cut the Bermuda Bay ombre paper to 4¼" x 3".  Adhere it to the top of the white cardstock to be the sky.

Using the curvy die, cut the Granny Apple Green ombre paper through the embossing machine.  This will create two pieces with curved edges.  Make sure to place the die so that the "decorative edge" is on the lighter area.  Adjust the two pieces so that they will resemble rolling hills.  Adhere them together AT THE BOTTOM ONLY to hold them together, then cut them shorter, if needed, and to a width of 4¼".  DON'T FULLY ADHERE THEM YET!!


Stamp the butterflies in the sky. 

I used the stamparatus to stamp the flowers in the correct position on the left and right side of you card.  I stamped in Mossy Meadow ink.  (Remember to leave room for the donkey!)


Stamp the donkey on white cardstock.  I used Smoky Slate ink.  Color the donkey with Stampin' Blends, colored pencils or watercolor.  Then fussy cut the donkey...**sigh*** I HATE fussy cutting, but he is so darn cute that he is worth it!

Here is the tricky part.  We just want to raise the top of the outer green piece to give dimension.  Place dimensionals between the top of the two green pieces as shown but don't remove the the top liner yet.  Place adhesive along the sides (glue dots or tape).  Then remove the liners on the dimensionals and adhere the pieces to each other.  I also used my finger to bend up the edge of the lighter green also.


Adhere your donkey with dimensionals.  (Is anyone else getting hungry for waffles??)

Add your Mossy Meadow Braided linen  by adhering it on the back of your cardstock.  

Stamp your sentiment, cut and adhere with dimensionals.  

Add the ladybug.... aren't they adorable!!! (Whoever came up with these at Stampin' Up! should get a raise!!)


Attach this to the front of your cardbase and voila!!  Now we can go eat waffles!


BLOG HOP LINKS


Christmas 2020- Don't Stop Believin'


So Many Snowflakes Dies

This card combines two of my favorite things- the Don't Stop Believin' stamp set and a sense of humor.
This year has been a rough one, even for Frosty.  He is a hot mess, just like the rest of us!


The items used for this card-

Paper:

Thick whisper white cardstock for base, cut 5 ½" x 8 ½", scored at 4¼"
Specialty paper of your choice, cut 4" x 5 ¼"
Seaside spray cardstock, 2 pieces cut 4" x 5 ¼"
Whisper White cardstock, cut 3 ¾" x 5"

Stamps and Dies:
Snowflake Wishes stamp set and So Many Snowflakes Dies
Don't Stop Believin' stamp set
Tasteful Labels Dies

Stampin' Blends to color the snowman and mug
Computer and Printer 


The cover:
  • Use the snowflake window die centered on the specialty paper then adhere it to the front of your cardbase. 
  • Stamp the melted snowman (only) with Memento Black and color with Stampin' Blends.
  • I used my computer to print the "Christmas 2020" and "Even Frosty is a hot mess!" on whisper white cardstock. Use the label die of your choice to cut them out. I used the dies from Tasteful Labels for both.  I duplicated the larger label die with Cherry Cobbler cardstock and offset it to create an accent.  Carefully ink the spilled mug and stamp it to the side of your sentiment, coloring with the blends.  
  • Cut the snowflake from from Seaside Spray cardstock and adhere as shown.  Add some Wink of Stella to make it shimmer. 


For the inside:
  • Cut the large snowflake from the middle of one of your Seaside Spray pieces, then adhere to the top portion of the inside. 
  • Stamp the "Sadly, Frosty's first hot cocoa turned out to be his last" from the stamp set onto the whisper white.  I also stamped Merry Christmas in Cherry Cobbler from the Christmas Gleaming stamp set but you can use any that you wish. I surrounded the sentiment with snowflakes from the Snowflake Wishes stamp set.  Center it on the Seaside Spray piece and adhere both to the cardbase.
Shhhhhh!!!!!!
Now for my little secret... sometimes the best creations come from making a "mistake".  When I first made this card, the blending markers bled through the cardbase making a light mark on the inside.  That's when I decided to use the large snowflake cut out of cardstock on the inside of the cover.  I loved this unique look.  Never be afraid of making a mistake, let it be part of the creative experience!


Get the bundle now! Ends 1/4/2021


Only available until 1/4/2021!!! 
Clip on image to shop now!

Fair Frenzy


What an exciting (and exhausting) November!  

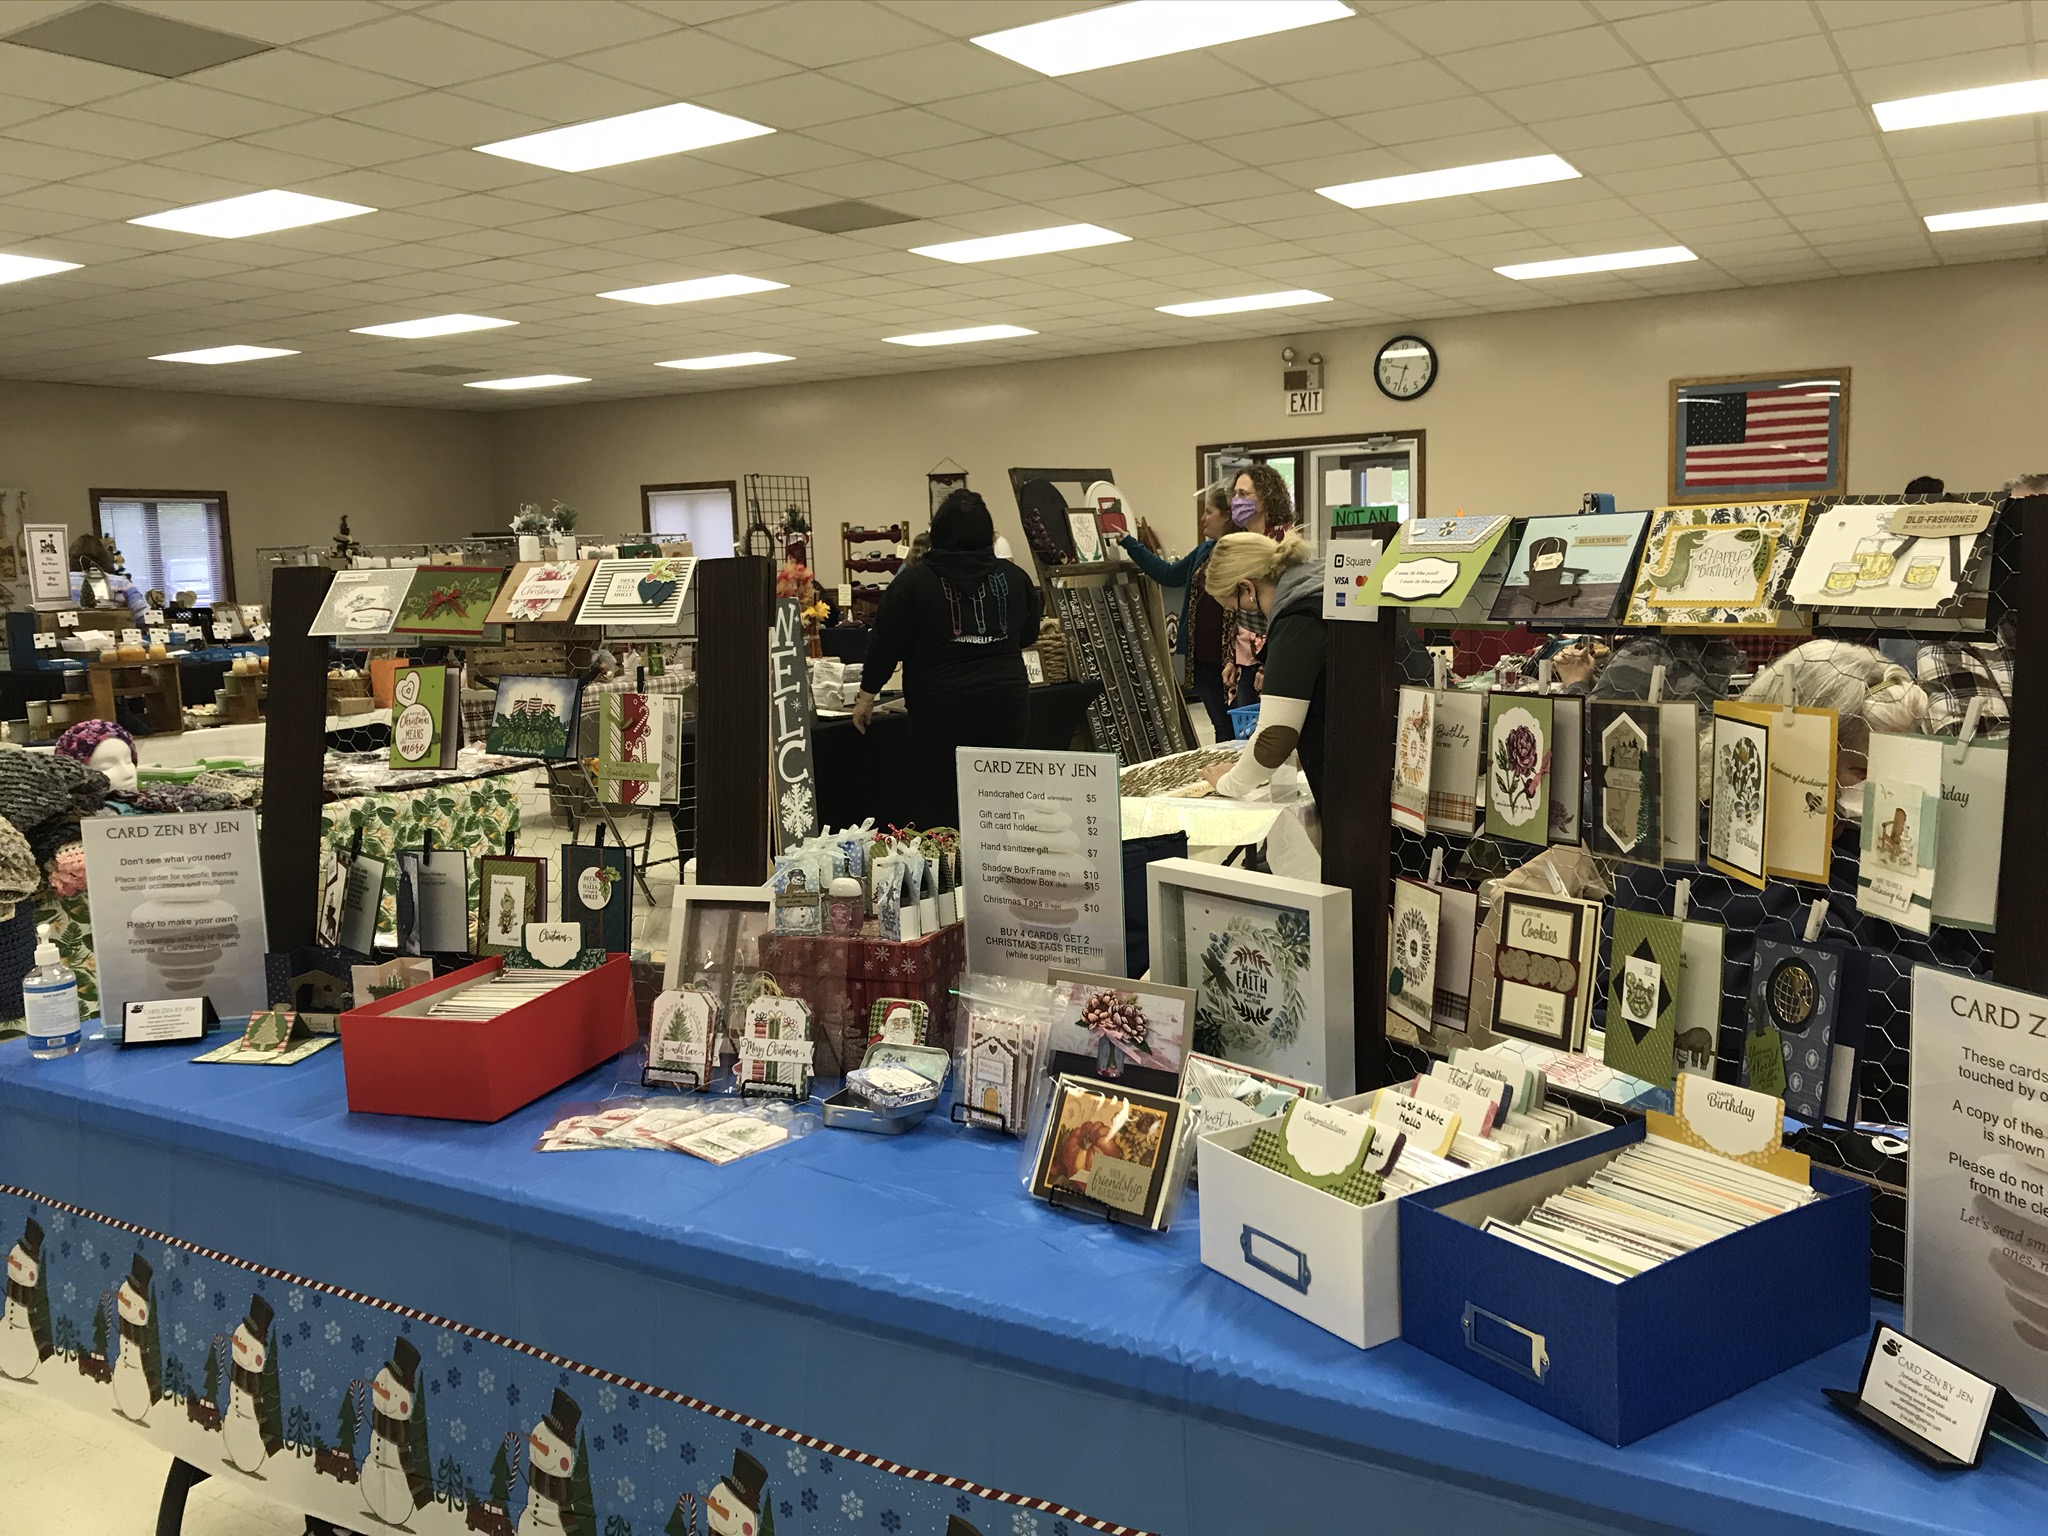
It was a craft fair frenzy.  During a time when most craft events have been cancelled, home-made enthusiasts were chomping at the bit to get their Christmas shopping on.  The little fire hall was filled with a masked community who came out to support local craft vendors. 

This was just one of many firsts this year.... my first craft fair.  In May, I began selling my cards at Card Zen by Jen on Facebook to give my family and friends a safe alternative to grocery store cards.  Truth be told, my love of stamping created an abundance of cards and I needed to support my habit. But a fair gave me the chance to show the quality products that Stampin' Up! offers.  After all, anybody can do what I do with the right products, tools and some really good instruction.  I won't lie, I learned from the best.

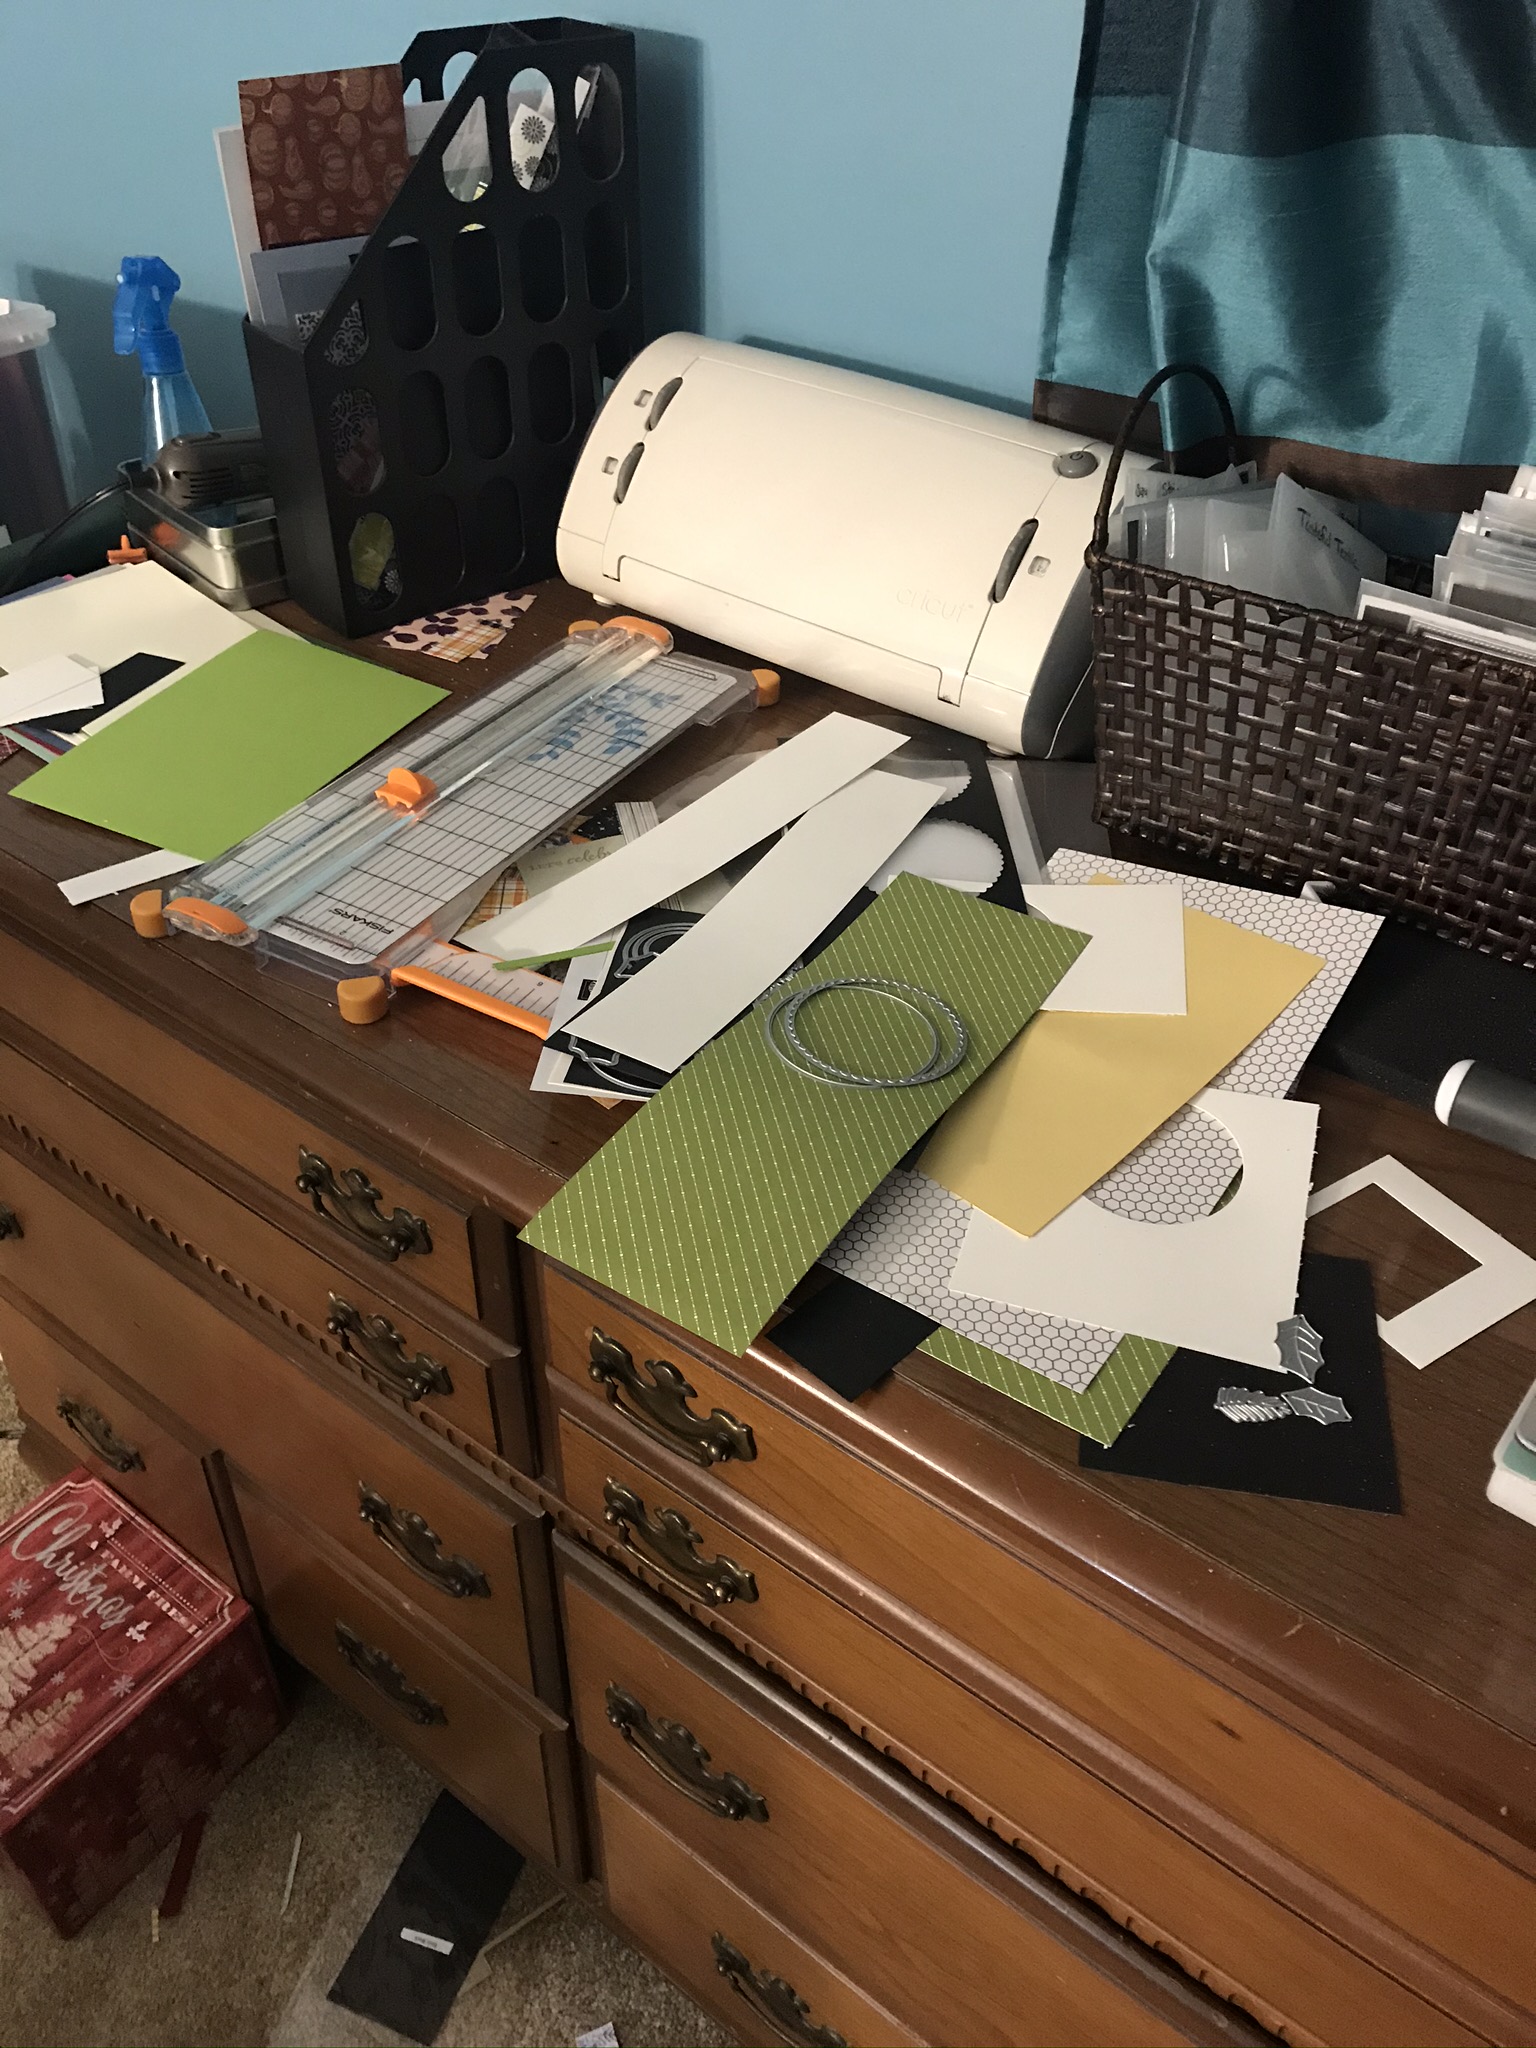
Now on to the frenzy!!!  Anybody who knows me knows that I can go a little overboard.  I don't do anything half-way.  Even if I screw it up, it will be with my whole effort.  Here are some photos of my craft cave in chaos!! It wasn't pretty.

 I worked till midnight during the weeks leading up to the fair to make sure that I had a good mixture of cards and other items for sale.  My poor husband tried to reign me in but after 16 years, he knows my drive and stubbornness.  Even the dogs gave up on me.

In the end, I nervously showed up to the fire hall early that morning with 168 cards.  This is no small feat given that I usually spend no less than an hour on each card. Oh, did I tell you I had shoulder surgery the end of July??  Yeah, that's another story altogether! 


Will I do it again?  I will, but in my own way. I love sharing my creations.  I couldn't hide my enthusiasm even with the mask on my face. 

The stamping, the creating, the sharing - I love it! 

So why just share the finished product? It's time to share the journey.  

Welcome to my Stampin' Up! adventure!


Follow me here and on Facebook for tutorials, product specials and upcoming in-person and online events!