Happy Housewarming


This card has been in my head for a while.  The Feels Like Home stampset was a freebie in a previous Sale-A-Bration and has been sitting on my shelf...staring at me... whispering to me.  I finally discovered the Best Chapter stampset with the "Happy Housewarming" stamp in it. If you want it, you will have to get it on a retired sale site after 5/3/2022!  Add to that the Brick and Mortar 3D embossing folder, and there you have it.  This card just HAD to happen.


So, here is how it happened.


  • Cut your Basic Grey cardstock to  8½" x 5½", score at 4¼".  Now, use your trimmer to cut in 1½" on each side-ONLY UP TO THE SCORE LINE!  It should look like this.


  • Take your Brick and Mortar embossing folder and put only the end flaps into it.  I know we always say to put the embossing folders into your machine "hinge-first" but not this time.  You are living dangerously.... a real rebel.

  • Cut Basic White to 2¼" x 4".  Stamp the door image from Feels Like Home in Memento Black so that the door is centered. Color as you wish with Stampin' Blends. 

  •  Cut Real Red cardstock to 2⅜" x 4⅛".  Adhere your Basic White to the Real Red.  Then adhere them to the middle panel of your card.

  • Using the white wood DSP from Heart and Home, cut a piece with the largest scalloped rectangle die from Stitched So Sweetly dies.  Then cut it to about 1 inch.  Stamp "Happy Housewarming" from Best Chapter stampset in Real Red. Adhere to the top of the two side panels with dimensionals- do not stick it to the middle panel.
      • Cut two pieces from the "planked" wood DSP from Heart and Home.  They should be 1" x 5½". Adhere them together so that the wood grain is showing on both sides.  Then adhere it behind the two end panels along the bottom of your card.
      • Cut the "welcome mat" using the smallest scalloped rectangle from the Stitched So Sweetly dies. Use whatever DSP you prefer (I used Heart and Home). Stamp "welcome" in Black Memento using the Welcoming Window stampset. Then adhere to the middle of the wood DSP strip. 

      • Stamp and die cut the flower pot and flowers using Welcoming Window stampset and dies. Adhere the flowers with dimensionals.

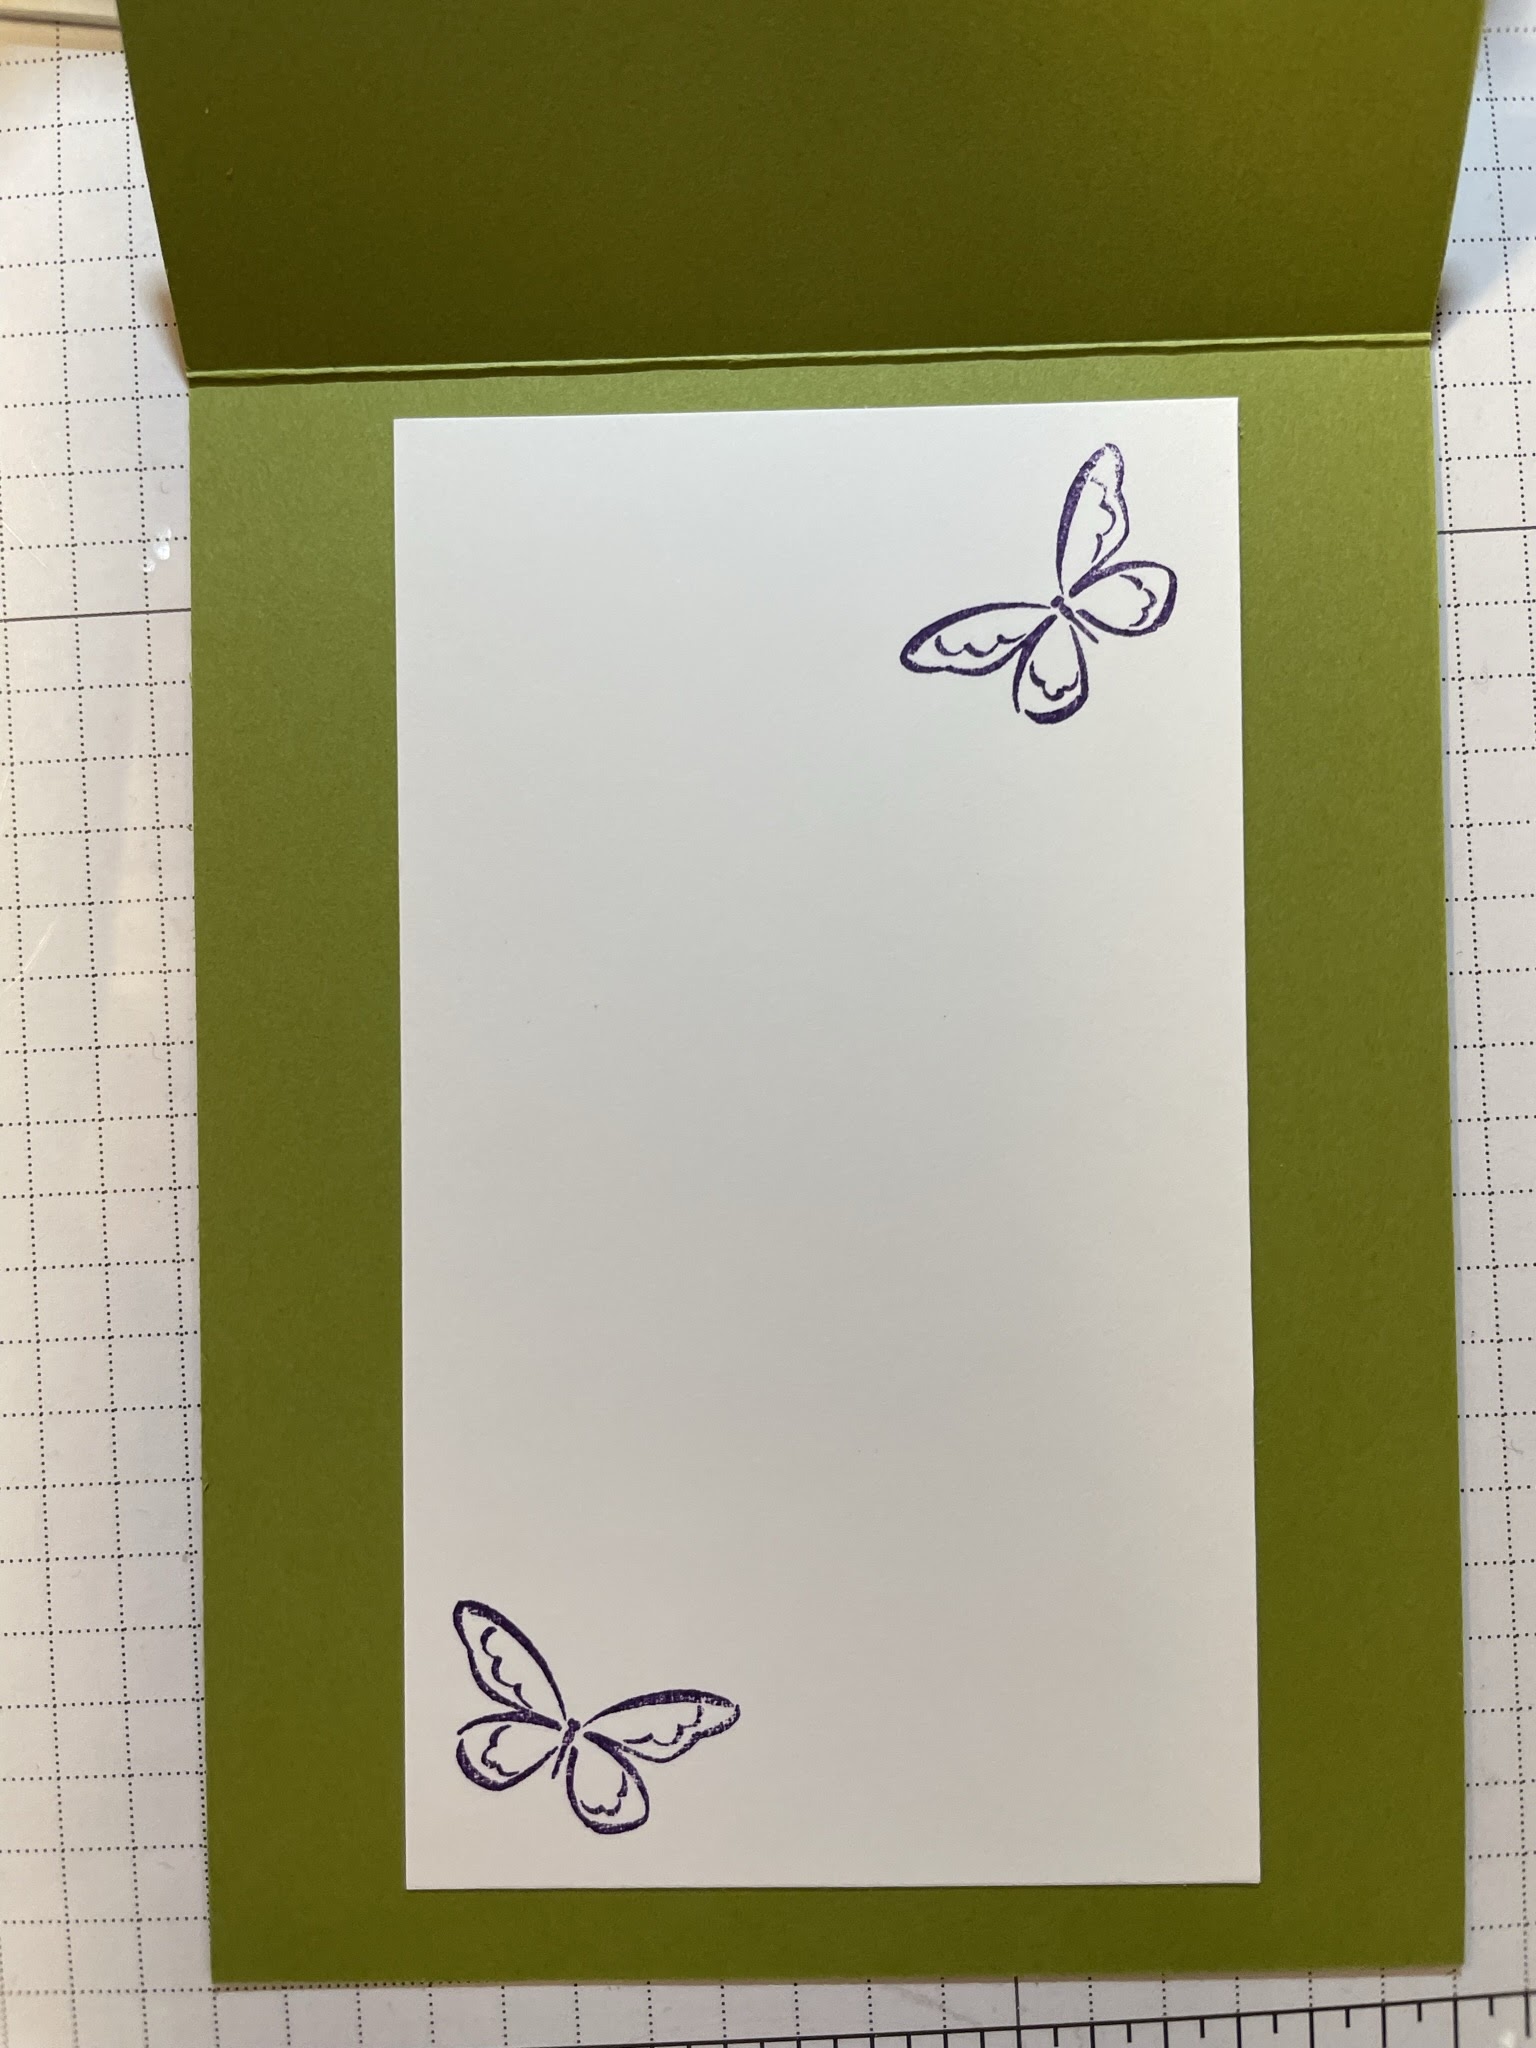
      • Cut the inside Basic White to 3½" x 4¾".  The wording used was from an old retired stampset called Barn Door and the little flowerpot stamp is from Feels Like Home.


      Now that I have made this, there are many other variations swimming around in my head - a log home, a home with siding, an apartment building.  If only I could stamp 24/7.

      To make it easy, I created a link to easily shop for the items used on this card.  Click here to shop now.

      Some product was retired.  There are multiple facebook groups to search for retired products.  I am happy to help.

      Retired Product Used:
      Feels Like Home stampset
      Best Chapter stampset (retires 5/3 but is sold out)
      Barn Door stampset
      Stitched So Sweetly Dies


      Daffodil Daydream Customer Appreciation Card


      Welcome back to this awesome blog hop.  When you reach the
      bottom of my blog, just click on the link list to get to the next blog!


      April Customer Appreciation Card

      My April customers (using the current host code) will receive this card as my "thank you."  Don't worry, I also included the directions below. 

      This blog is part of a blog hop.  


      Stampsets/Dies:

      Daffodil Daydream and dies
      Pansy Patch
      Stitched So Sweetly dies

      Cardstock:

      Old Olive 
      Gorgeous Grape
      DSP of your choice
      So Saffron
      Basic White

      Embellishments:
      Brushed Brass Butterflies
      Wink of Stella
      Gingham Ribbon

      Directions:
      • Cut the Old Olive to 4¼" x 7", scored at 1½". Cut another piece of Old Olive 4¼" x 1½".

      • Cut two pieces of the DSP (patterned paper) to 4" x 1¼".  Adhere to the top of the cardfront and the additional piece of Old Olive.

      • Use the largest scalloped rectangle to cut the Basic White cardstock.  Stamp the daffodil bouquet using Memento Black ink onto the diecut. Stamp the single daffodil in Black ink onto a scrap piece of Basic White.

      Did you see my stray black line?? It's okay, you won't see it.

      • Use the die to cut out the single daffodil.

      • Use Stampin' Blends in Daffodil Delight and Granny Apple Green to color the flowers.

      • Cut the Gorgeous Grape to 3¼" x 4¼". Adhere the scalloped rectangle to it in the center. Then place glue tape at the top and bottom only.


      • Place the smaller Olive Green piece aligned with the bottom of the card.  Then adhere the  Gorgeous Grape piece to catch the top and bottom pieces, making a bridge.

      • Use dimensionals to add the single daffodil. 

      • Add the bow with a glue dot.
      • Use the smallest scalloped rectangle to cut the So Saffron. Then stamp your sentiment in Memento Black. Adhere with dimensionals.


      • Add Brushed Brass Butterflies and add Wink of Stella to your single daffodil.
      • Cut Basic White to 2⅞" x 5".  Stamp the small butterfly in Gorgeous Grape as shown and adhere to the inside of the card (should not be visible when the card is closed.)  Also stamp your envelope - THERE ARE NO NAKED ENVELOPES!!


      No hop on along to the next blog and check out their amazing creations!