These treat boxes are so easy to use, just as they come. There are 8 whole tombstones for just $10 when you put them together like this. One tombstone piece is on the top and one serves as the bottom for a total of 16 pieces, but 8 treat boxes.
But, I found a way to get 16 tombstones instead of just 8. By creating your own bottom box you could make more treat boxes. Here is how I did it.
Before we get started, take notice that the tombstones are in two different sizes (an eighth of an inch difference) to allow them to fit together. So that my black bottom boxes would fit, I needed to create two different sizes... Don't worry, I did all the math for you.😉
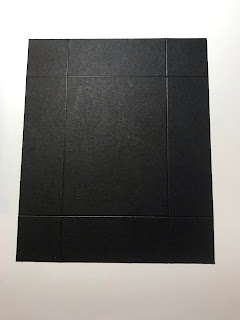
Cut 8 pieces of black cardstock to 5¾" x 4¾" (small size).
Cut 8 pieces of black cardstock to 5⅞" x 4⅞"(large size).
Score all pieces at 1⅛" the whole way around.
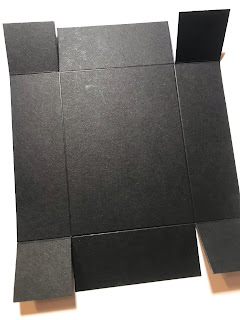
Now snip in to the crossing lines on the short sides only- so that it looks like this.
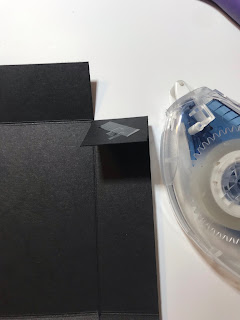
Use your bone folder to make sharp creases at your score lines. Now add adhesive using your Stampin' Seal + only in the spots as shown below. Adhere it to form a box shape.
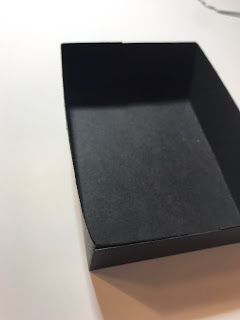
So there it is.... you can stop there and put your tombstone top on.... but what fun would that be??? Let's add a window to the tombstone top!!
You must do this BEFORE you remove the adhesive strips (already on the tombstones) and create your top box. If you already put all yours together??? Just order more from me! The link will be at the bottom. You're welcome.
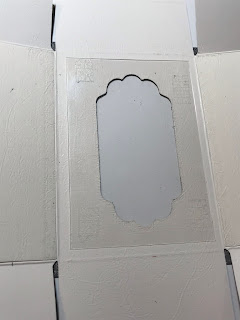
Take your still flat tombstone. I used the smaller label die from the Seasonal Label Dies (2021 Jul-Dec catalog). **Make sure that you have the label die down below the top crease of the box. Follow the imaginary line from the crease in the flap. Be below that line!! It was too high in this photo.
Did you see in the photo above that I was not below the crease???? Do as I say, not as I do.
Oh well, we go on.
Cut window sheet to 2¼" x 3¼". Adhere to the inside of your tombstone.
Now remove the 3m strips that Stampin' Up! so conveniently provided and fold it up!
Now is the best part, decorate it! I used everything from leftover Paper Pumpkin pieces from 2020 to skeleton stamps from Paper Pumpkin in 2019. Don't forget that adorable gingham black and white ribbon (2021 Jul-Dec catalog). Did you know that you can color that ribbon with your Stampin' Blends. Again, you're welcome.
Oops, almost forgot. Don't throw away the piece you cut out with the label die. If you cut it in half and add some black ink around it with a blending brush, it makes a great tombstone for decorating.
Let's get you hooked up with everything you need to make these adorable boxes. Just think, if you can get 16 treat boxes out of it instead of 8, you can treat more co-workers, family members and neighborhood kids for just $10.
Click here to shop with me for the basics needed to make these spooktacular treat boxes!